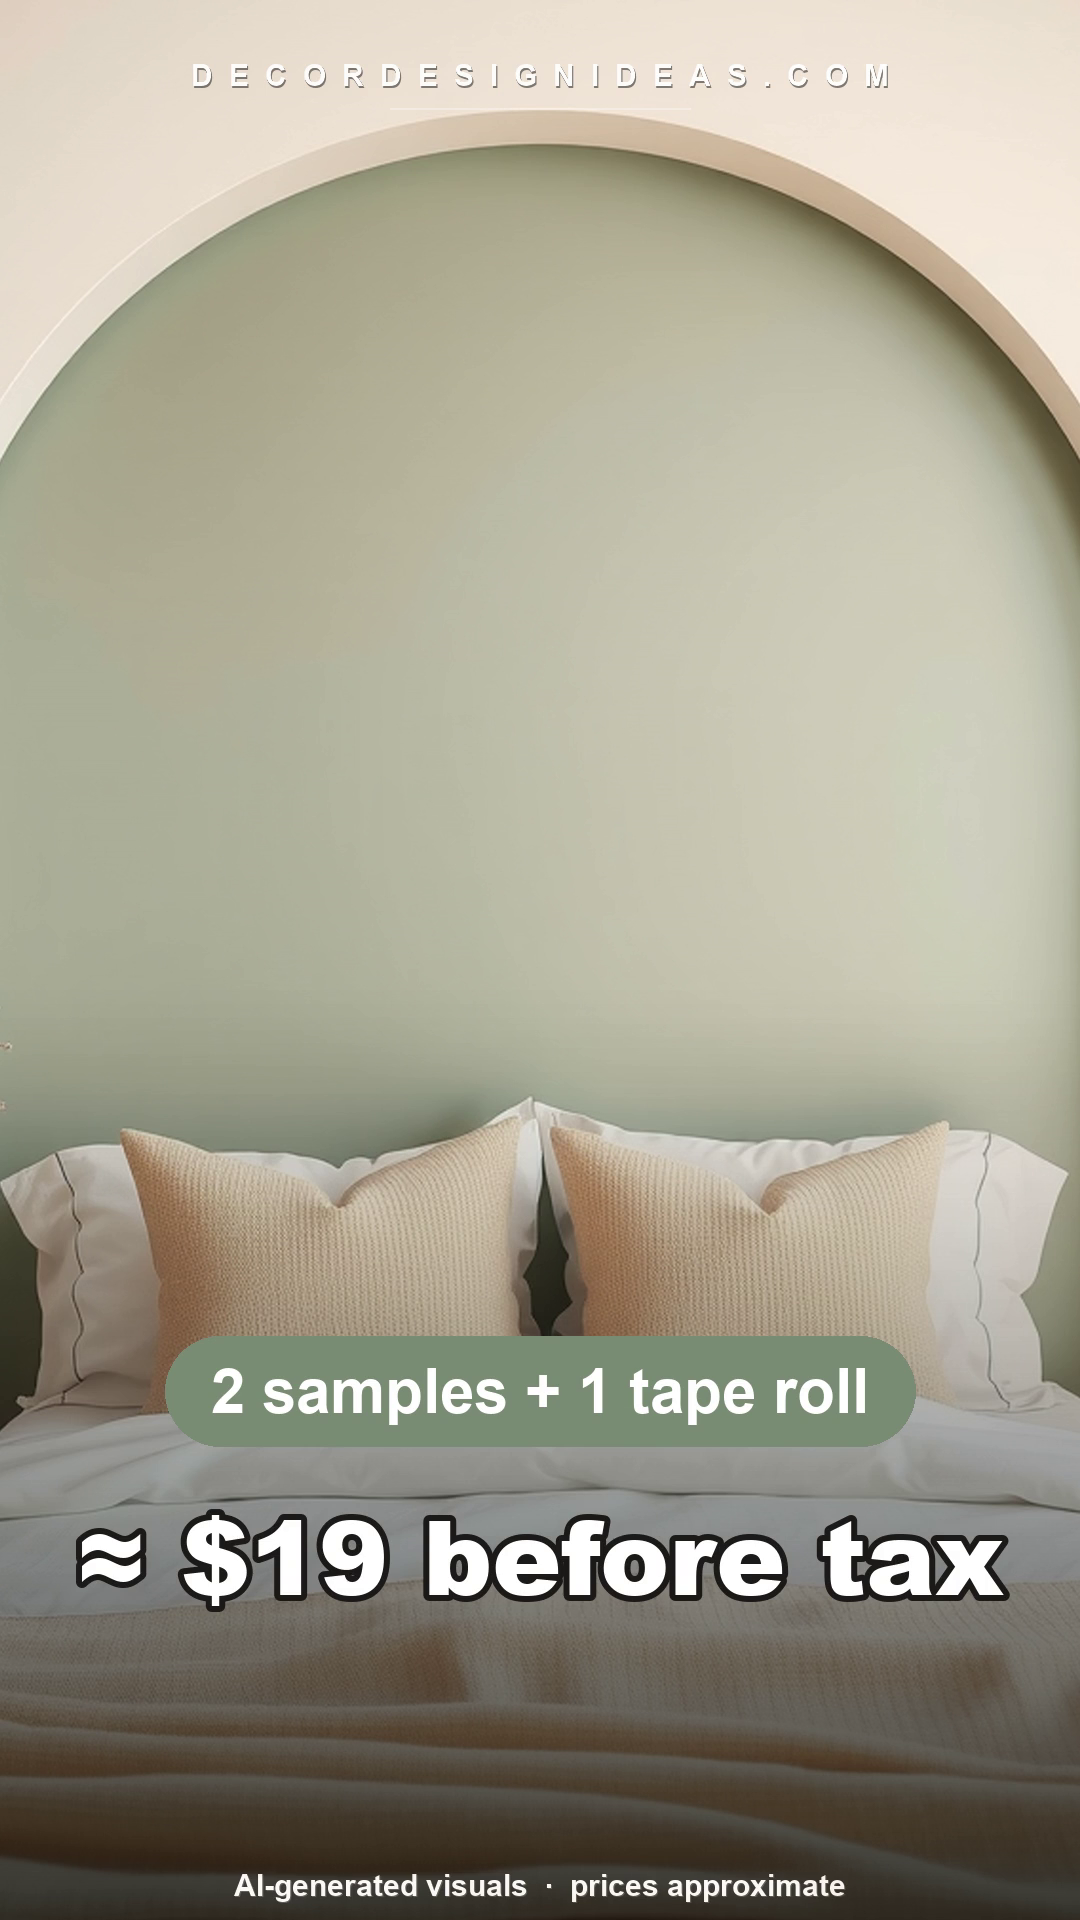
DIY Painted Arch Headboard: A Faux Headboard for About $19
Affiliate Disclosure: DecorDesignIdeas.com is a participant in the Amazon Services LLC Associates Program, an affiliate advertising program designed to provide a means for sites to earn advertising fees by advertising and linking to Amazon.com.
As an Amazon Associate, we earn from qualifying purchases. This comes at no extra cost to you.
DIY Painted Arch Headboard: A Faux Headboard for About $19
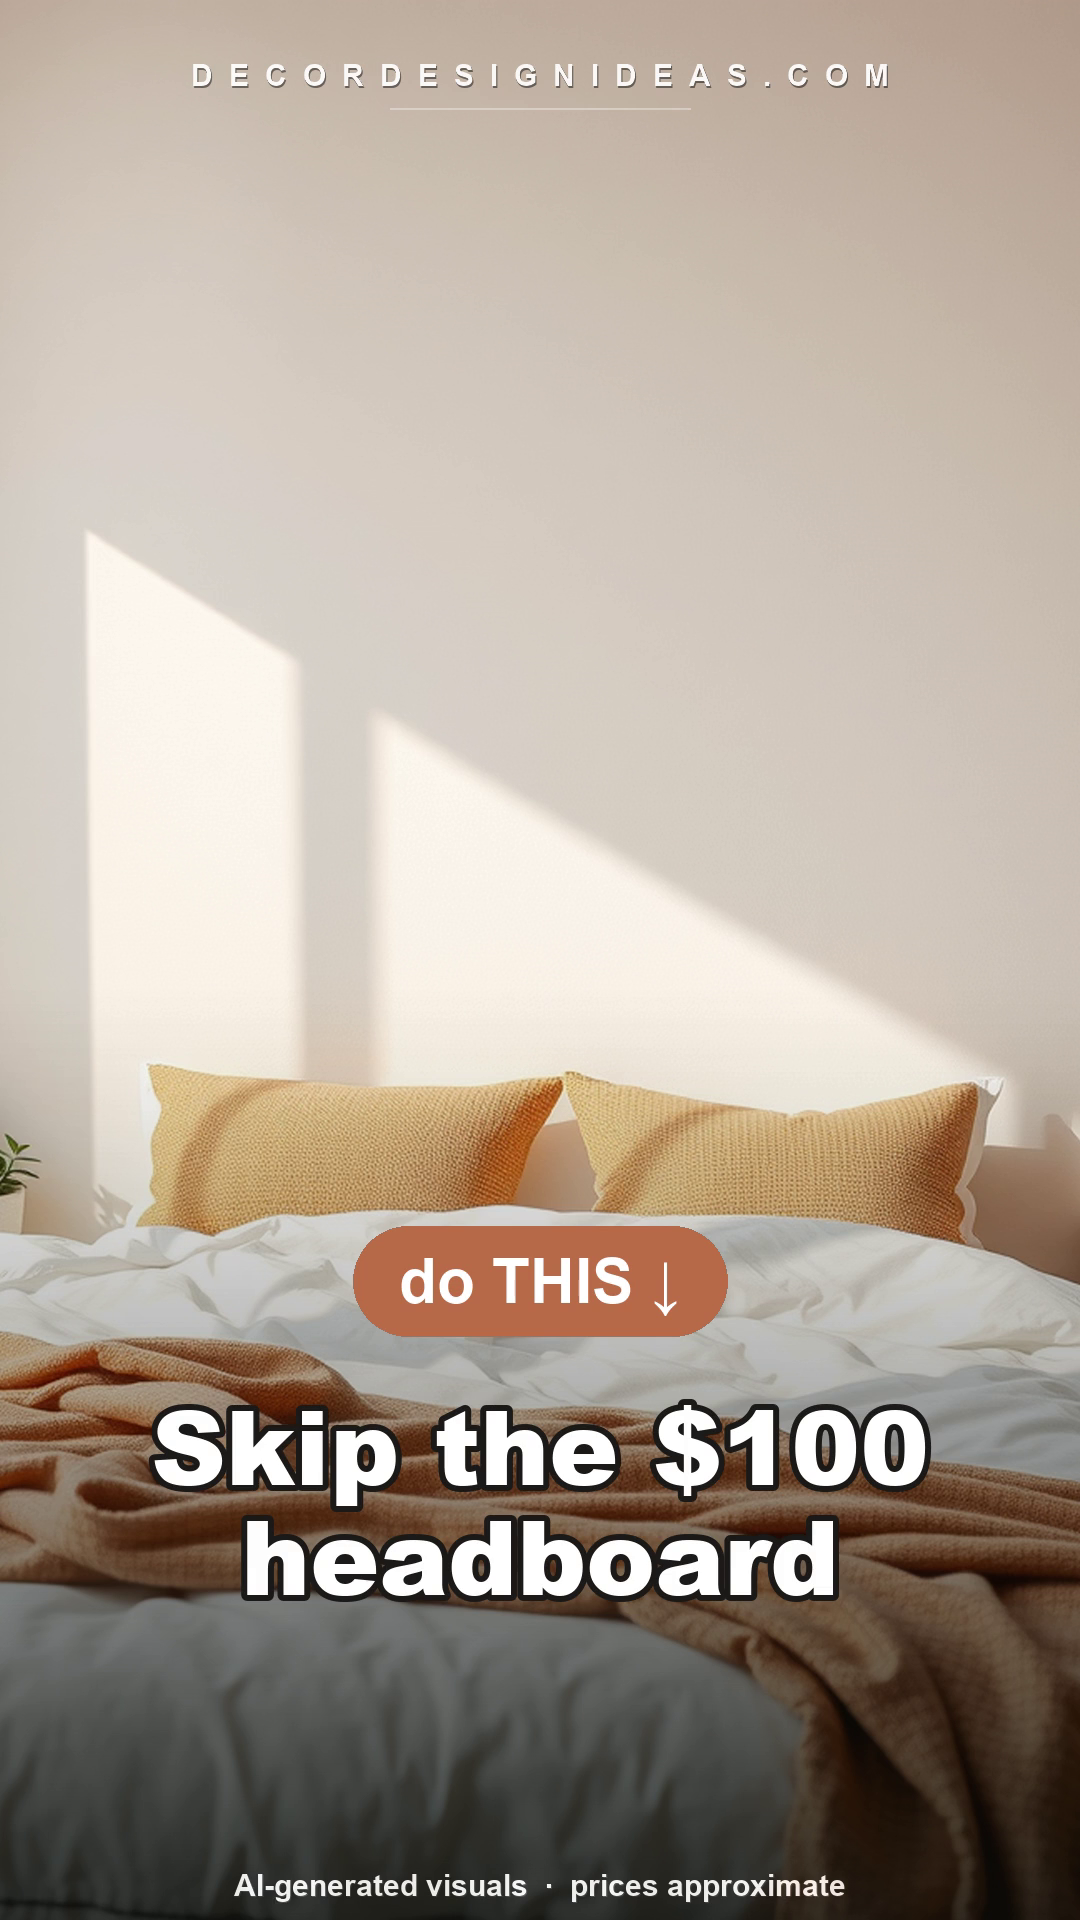
A real upholstered headboard runs $150 to $600, and a curved arched one costs more. You can get the same shape, the same soft focal point behind the bed, by painting an arch straight onto the wall for about $19 in materials. No headboard, no brackets, no drilling into studs.
This is one of the highest-impact, lowest-cost changes you can make in a bedroom. The arch reads as intentional and a little architectural, it works in rentals you plan to paint back, and the whole thing is a Saturday-morning job. Below are the real, approximate costs (not a claimed store receipt), the exact string-compass trick for drawing a clean curve, and the steps in order.
For more on this topic, see our guide on DIY accent wall ideas under $50.
What it actually costs
Here is the honest materials math. Prices are approximate and vary by region and store, so treat these as a ballpark, not a promise.
| Item | What we used | Approx. cost |
|---|---|---|
| Paint sample pot #1 | 8 oz interior sample (e.g. BEHR) | ~$6 |
| Paint sample pot #2 | Second 8 oz sample (coverage/second coat) | ~$6 |
| Painter’s tape | ScotchBlue, 1.88 in wide | ~$7 |
| Materials subtotal | ~$19 before tax |
That $19 covers paint and tape only. It assumes you already own the three things most people have in a junk drawer: a pencil, a piece of string, and a brush. If you need to buy an angled brush too, add a few dollars.
Why two sample pots? This is the honest part most tutorials skip. One 8 oz paint sample covers a fairly small area, roughly 12 to 16 square feet with a single coat, depending on the paint and how porous your wall is. A 55-inch-wide arch that goes up around 60 inches is bigger than that, and painted color almost always needs two coats to look solid and even. So while a single pot might technically start the job, plan on the second pot for full coverage and a clean second coat. Buying one and running out halfway up the wall is the most common way this project goes sideways.
The shopping list, with links
- Paint samples: Two 8 oz interior latex samples in your arch color. Sample pots at a paint counter (BEHR, Behr Marquee, or any store brand) are around $6 each. If you prefer to order, browse sample-size interior paint on Amazon.
- Painter’s tape: ScotchBlue Original painter’s tape, about $7 for a standard roll. You only need tape to mask the baseboard and any trim, not to draw the curve.
- An angled brush: A 2 to 2.5 inch angled sash brush makes the curved edge much easier to control than a straight brush. A small foam roller helps fill the middle fast.
You will also need: a pencil, about 30 inches of non-stretchy string (kitchen twine is perfect), a thumbtack or a helper’s finger, and a damp rag.
How to paint an arched headboard, step by step
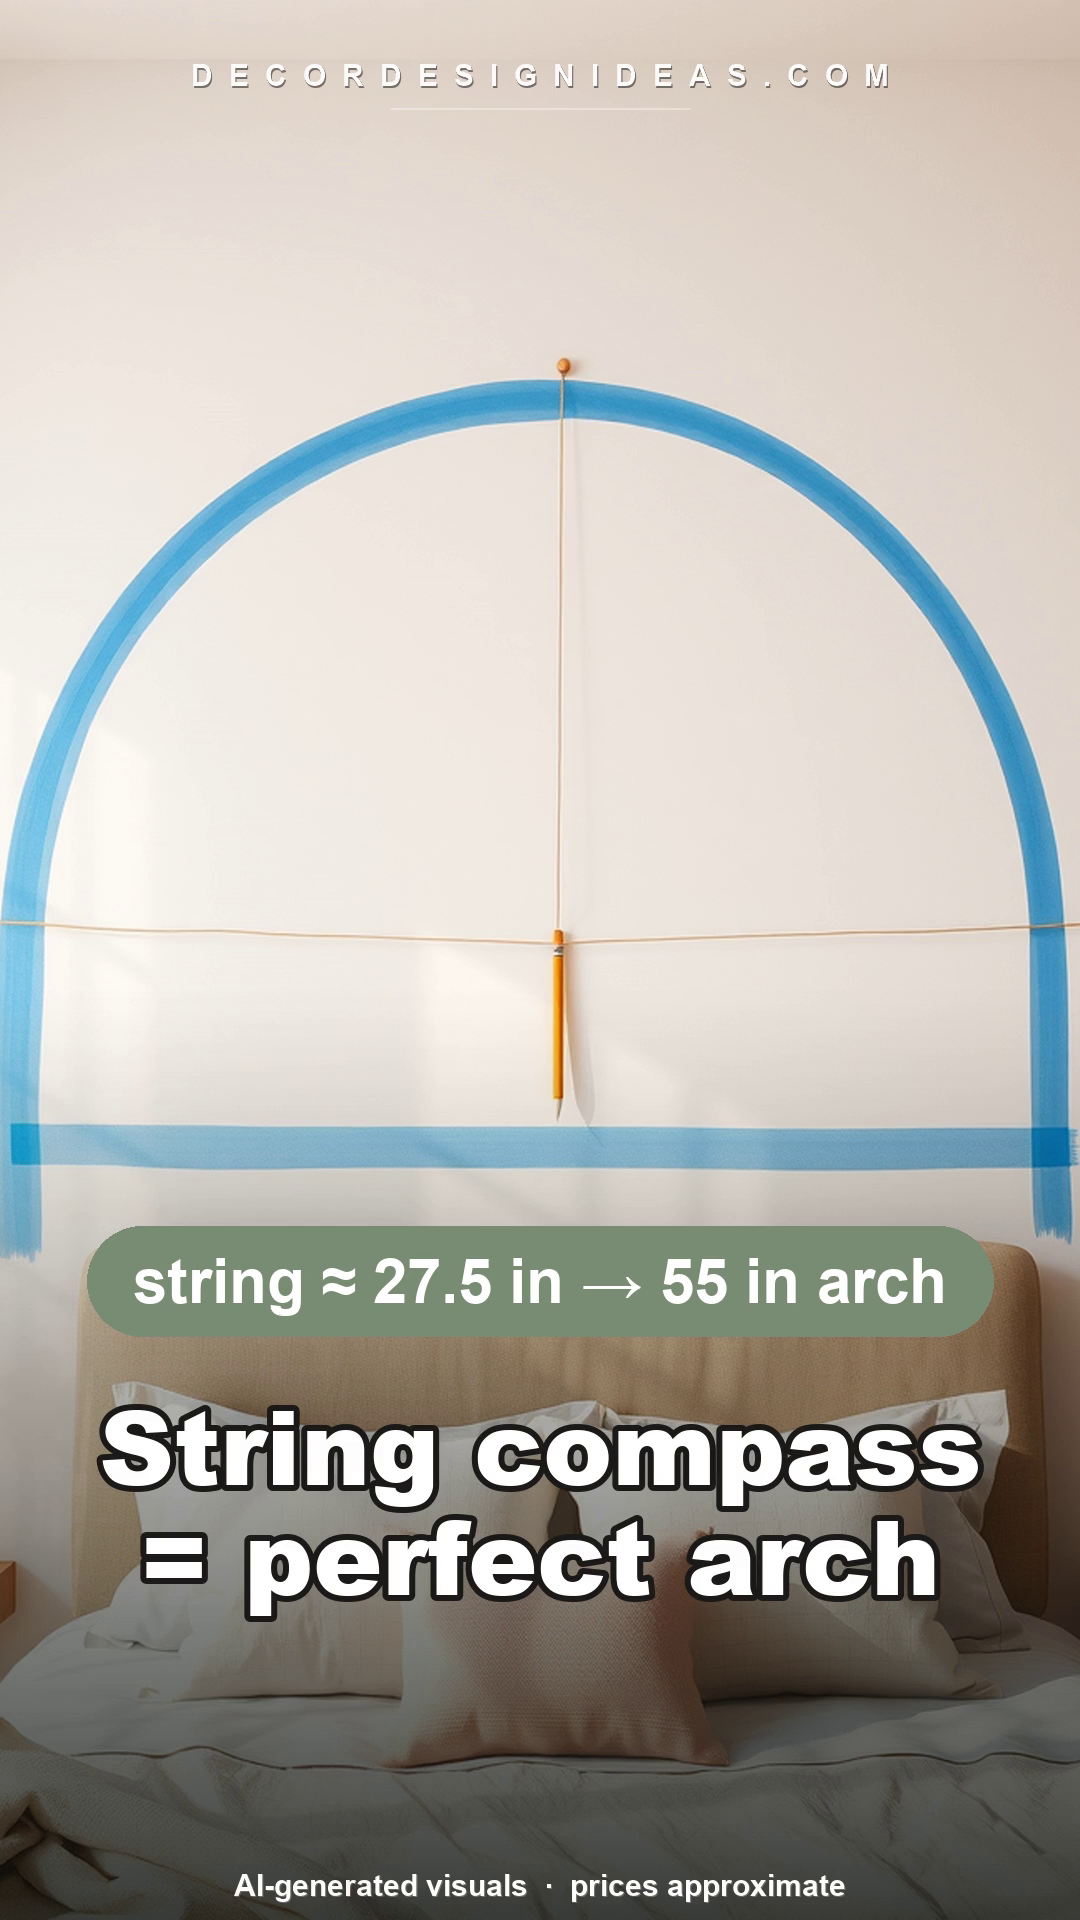
The whole method comes down to one idea: a piece of string, pinned at a center point, swings a perfect half-circle the way a compass draws a circle. Get the geometry right on paper first and the painting is easy.
1. Decide the width and height
Standard guidance: make the arch a little wider than your bed so the pillows sit inside it. For a queen bed (60 inches wide), an arch of about 55 to 65 inches wide looks balanced. Our example uses a 55-inch-wide arch.
The arch has two parts: straight sides that go up from the floor or from behind the bed, and a half-circle that caps the top. For a 55-inch-wide arch, the half-circle at the top has a radius of about 27.5 inches (half the width). Decide your total height, most people run the straight sides up so the top of the curve lands around 60 to 70 inches off the floor, roughly where a tall headboard would end.
2. Find and mark the center point
Measure the width of your arch on the wall and make a light pencil mark at the two bottom corners. Find the exact horizontal center between them. Now measure up from the floor to the height where you want the straight sides to stop and the curve to begin, and make a mark. That horizontal line, at the center point, is your compass pivot.
3. Turn a string into a compass
Cut a piece of string and tie or hold it so the working length from the pivot to the pencil is 27.5 inches (your radius). Pin or press one end firmly on the center pivot point. Tie the other end to a pencil, or just pinch it tight against the pencil at exactly 27.5 inches.
Keep the string taut, and sweep the pencil from one side, up and over the top, down to the other side. That single swing draws the top half-circle of the arch. Because the string never changes length, every point on the curve is exactly 27.5 inches from center, which is what makes it smooth.
4. Draw the straight sides
From where the curve meets each side, draw two vertical lines straight down to your bottom marks using a level or a straightedge. You now have the full arch outline: two straight legs and a domed top. Step back and check it. Pencil erases, paint does not.
5. Mask the edges you care about
Run painter’s tape along the baseboard, and along any trim or ceiling the arch gets close to, so a stray brushstroke does not matter. You do not tape the curve itself, that edge is cut in freehand with the angled brush, which is easier than trying to bend tape around a tight radius.
6. Cut in the outline, then fill
Load the angled brush lightly and “cut in,” painting carefully just inside your pencil line all the way around the arch, curve and sides. Take your time on the curve; this edge is the whole project. Once the outline is done, fill the interior with the brush or a small foam roller.
7. Wait the recoat time, then do coat two
This is where patience pays off. Check the paint can or sample label for the recoat time and wait it out, usually about 2 hours before you apply the second coat. Recoating too soon drags the first coat, leaves streaks, and can lift color. One coat of a sample color over white will almost always look patchy, so the second coat is not optional if you want it to look finished.
8. Peel the tape the right way
Once the paint is dry to the touch, remove the tape. Do not rip it. Run a utility knife or the edge of a putty knife lightly along the tape line first to score the paint film, so the peeling tape cannot tear a ragged edge into your fresh paint. Then pull the tape back slowly on itself at about a 45-degree angle. Slow and low gives the crispest line.
Pro tips
- Prime dark walls first. If your wall is currently a dark or strong color, a pale arch will need three coats to cover, which blows past two sample pots. A quick coat of primer inside the arch shape first saves paint and frustration.
- Erase pencil before it is trapped. Any pencil line outside the painted area should be erased before the paint dries, once paint or a topcoat locks it in, it is there for good.
- Keep the string dead taut. The single most common mistake is letting the string go slack at the top of the swing, which flattens the curve into an egg shape. Tension the whole way around.
- Check level twice on the legs. A curve hides small errors; two vertical legs do not. If one leg leans, the eye catches it instantly behind a bed.
- Buy the second pot up front. Running to the store mid-project means your first coat dries at a different rate than your patch, which can flash. Have both pots open before you start.
Variations
Color. A soft terracotta, sage, or warm clay arch on a white wall is the trend-forward look right now. For a subtler, more expensive-looking version, paint the arch one or two shades deeper than the wall in the same color family, tone-on-tone, so it reads as texture and shadow rather than a bold graphic.
Size and shape. Scale the arch to the bed: a twin or bunk wants roughly a 40-inch arch, a king can carry 70 inches or more. Want a flatter, more modern top instead of a half-circle? Use a longer radius on your string (say 40 inches) and only swing a shallow section of the arc, which gives a gentle, elongated dome. A pointed or “keyhole” arch is possible too, but freehand curves are far more forgiving for a first try.
Layer it. Once the paint is fully cured, mount a slim picture ledge, a pair of sconces, or a hanging light just inside the arch to turn a flat shape into a styled focal point. For more ideas on the wall behind the bed, see cozy bedroom ideas: tones and textures.
Frequently Asked Questions
How much does a painted arch headboard cost?
Around $19 in materials if you use two 8 oz paint samples (about $6 each) and a roll of painter’s tape (about $7), and you already own a brush, string, and pencil. Prices are approximate and vary by store and region.
Do I really need two paint samples?
Usually yes. One 8 oz sample only covers roughly 12 to 16 square feet per coat, and a color arch needs two coats to look solid. A 55-inch-wide arch is larger than a single pot comfortably covers twice, so the second pot is your coverage and second-coat insurance.
How do I draw the arch without a stencil?
Use a piece of string as a compass. Pin one end at the center point of your arch, tie a pencil to the other end at a length equal to half the arch width (27.5 inches for a 55-inch arch), keep it taut, and sweep the pencil from side to side to draw a perfect half-circle.
How long should I wait between coats?
Follow the recoat time on the paint label, which is typically about 2 hours for interior latex. Recoating too early drags and streaks the first coat.
When can I remove the painter’s tape?
Once the paint is dry to the touch. Score along the tape edge with a knife first so peeling cannot tear the paint film, then pull the tape back slowly on itself at about a 45-degree angle for the cleanest line.
Is this renter-friendly?
The shape adds no holes, but it is still paint, so you will need to paint over it when you move out. If your lease requires it, budget for a coat of the original wall color at move-out.
Related Guides
- DIY accent wall ideas under $50
- Budget wall decor ideas that don’t look cheap
- Cozy bedroom ideas: tones and textures
Illustrations on this page are AI-generated for demonstration and do not depict a specific product or a real store receipt. Costs are approximate.