No-Nail Gallery Wall: A Renter-Safe, Measured Layout for About $35
Affiliate Disclosure: DecorDesignIdeas.com is a participant in the Amazon Services LLC Associates Program, an affiliate advertising program designed to provide a means for sites to earn advertising fees by advertising and linking to Amazon.com.
As an Amazon Associate, we earn from qualifying purchases. This comes at no extra cost to you.
No-Nail Gallery Wall: A Renter-Safe, Measured Layout for About $35
A gallery wall is the classic way to fill a big empty wall with personality, and it is also the project people put off the longest, because it usually means a dozen nail holes, a lot of guessing, and a wall you have to patch and repaint when you move. You can skip all of that. With paper templates, a level, and adhesive picture-hanging strips, you can hang a six-frame gallery wall with zero nail holes for about $35, and take it down clean.
This guide is the measured version: what the frames and strips actually cost, the exact spacing that keeps a gallery wall from looking random, and the press-and-wait timing that decides whether your frames stay up. The numbers below are approximate and vary by store and region, so treat them as a realistic ballpark, not a claimed receipt.
For a companion no-drill wall project, see our guide on budget wall decor ideas that don’t look cheap.
What it actually costs
Here is the materials math for a six-frame gallery wall built from inexpensive frames and one pack of adhesive strips.
| Item | What we used | Approx. cost |
|---|---|---|
| Picture frames (x6) | Thrift-store or flat-pack basics | ~$4 each = ~$24 |
| Adhesive picture-hanging strips | 1 pack (e.g. Command strips) | ~$9 |
| Paper templates | Kraft paper or newspaper | ~$0 |
| Materials subtotal | ~$33 before tax |
That lands around $33 to $35 depending on what your frames cost. Thrift stores are the budget lever here: mismatched secondhand frames, spray-painted a single unifying color, look more collected than a matched set and can cost a dollar or two each. Flat-pack basics from a big-box or Swedish furniture store run about $3 to $5 for common sizes.
Why paper templates instead of just hanging? Because the single thing that separates a gallery wall that looks designed from one that looks like darts thrown at a wall is even spacing, and you cannot judge spacing with a frame in your hands and a strip already stuck. Tracing each frame onto paper lets you arrange, re-arrange, and commit to a layout on the floor and then on the wall, before anything is permanent. It costs nothing and it is the most important step in the project.
The shopping list, with links
- Frames: Six frames in a mix of sizes. Order picture frame sets on Amazon, or thrift them and unify with a coat of spray paint.
- Adhesive strips: Command picture-hanging strips, about $9 a pack. Match the strip size to your frame weight; the pack lists a weight rating.
- A small level: A bubble level or laser level is what keeps the grid honest; a phone level app works in a pinch but a physical level is easier against a wall.
You will also need: kraft paper or newspaper, scissors, a pencil, and painter’s tape (the low-tack kind that will not pull paint off the wall when you remove the templates).
How to hang a no-nail gallery wall, step by step
The method is simple: plan on paper, transfer the paper to the wall, then swap paper for frames one at a time. Nothing goes up permanently until the whole layout is proven.
1. Choose your frames and a unifying thread
Six frames is a comfortable starting number for a wall above a sofa or console. They do not have to match in size, but they should share something: the same frame color, the same mat width, or the same subject. That shared thread is what makes a mixed set read as intentional rather than accidental.
2. Trace and cut paper templates
Lay each frame on kraft paper or newspaper and trace around it. Cut out the rectangles, and on each one, mark where the hanging point sits (measure from the top of the frame down to its hook or the top edge of where the strips will grip). These paper stand-ins are exactly the size of your frames, which is what makes the next step trustworthy.
3. Arrange the layout on the floor first
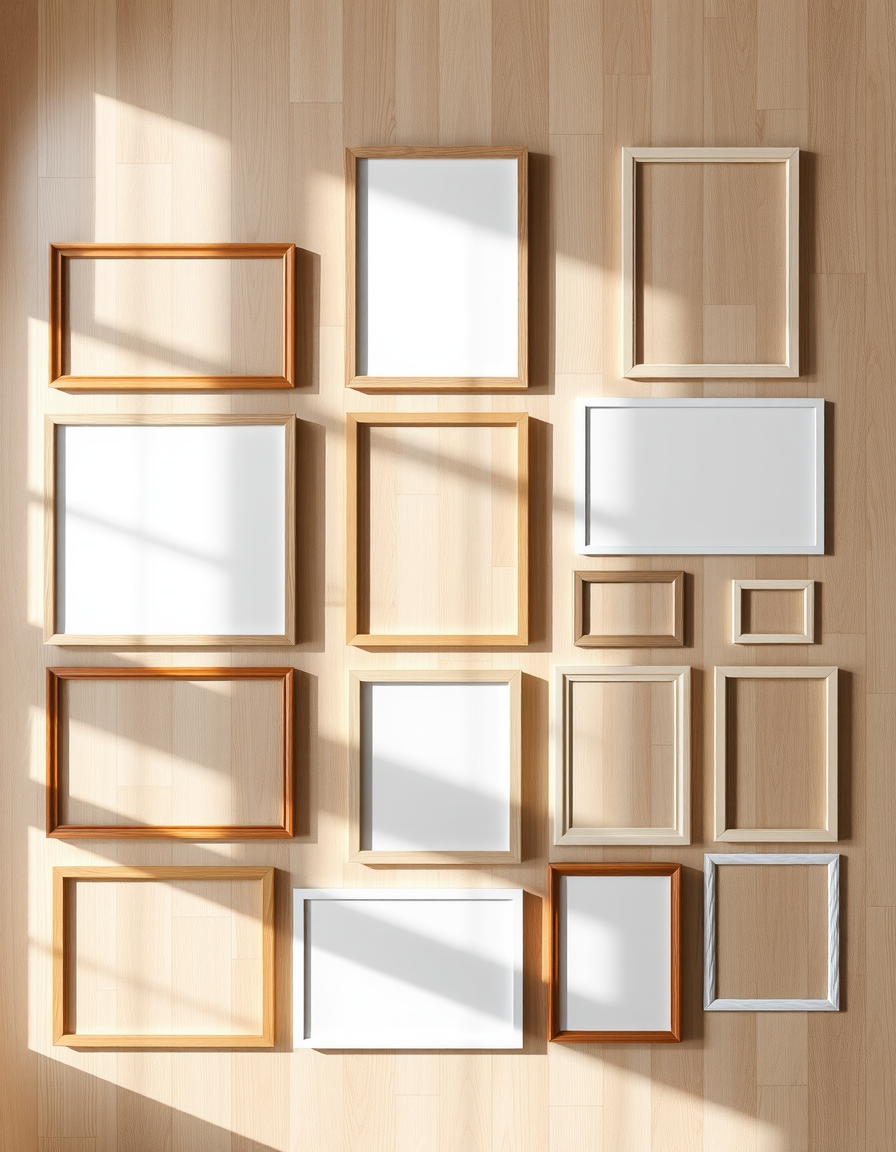
Lay your templates on the floor below the wall and move them around until the composition feels balanced. A reliable rule of thumb is to keep a consistent gap between frames, about 2 to 3 inches, so the group reads as one shape. Keep the outer edges roughly aligned into a rectangle or a clean silhouette, and let the sizes vary inside it.
4. Tape the templates to the wall
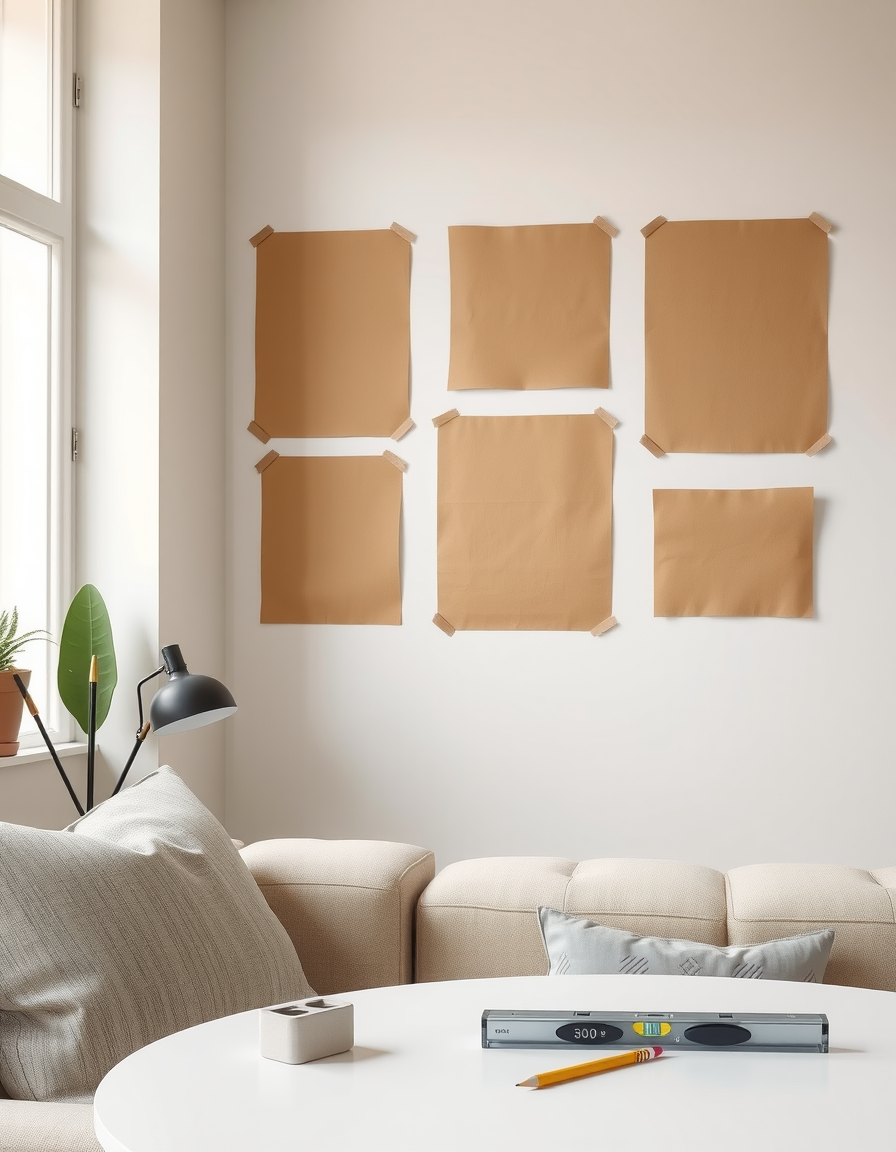
Transfer the arrangement to the wall using painter’s tape, keeping that same 2-to-3-inch spacing. Step back across the room and look. This is the free moment to fix anything: nudge a template, level a row, widen a gap. Adjusting paper is effortless; adjusting stuck frames is not.
5. Level each template and mark the hanging point
Go template by template with your level, straightening each one, then mark the wall through the hanging point you noted in step 2. Those pencil marks are exactly where the top of each frame’s strips will line up. Remove the paper templates once every mark is made.
6. Apply the strips and mind the weight rating
Follow the strip instructions: press the interlocking halves together, peel the wall-side liner, and stick the strips to the frame first. The critical rule is the weight rating printed on the pack. Medium strips typically hold a modest weight per set of pairs, and heavier frames need more pairs or a larger strip size. Overloading a strip is the number one reason frames end up on the floor.
7. Press, wait, then hang
Press each frame to the wall firmly for about 30 seconds so the wall-side adhesive bonds. Then here is the patience step most people skip: remove the frame, and let the strip on the wall cure for about an hour before pressing the frame back on to hang it. That wait is what gives the adhesive its full grip. Rushing it is why “the strips don’t work” for people who did not read the box.
Pro tips
- Weigh a frame before you buy strips. A kitchen scale tells you which strip size and how many pairs you need. Guessing high is cheaper than a cracked frame.
- Let new paint cure first. Adhesive strips do not bond well to fresh paint. If you just painted, wait about two weeks before hanging, or the strips will pull as the paint finishes curing.
- Textured walls fight you. Heavy texture reduces contact area and holding power. On a rough wall, size up the strips and press even longer, or accept that this method is less reliable there.
- Start the layout from the center. Hang the middle frames first and build outward, so any small spacing drift lands at the edges where it is least noticeable.
- Keep the leftover strips. You will want spares for the day a frame loosens, and to re-level anything that drifts after a season on the wall.
Variations
Grid vs. salon. A tidy grid of same-size frames with equal gaps reads modern and calm. A “salon” hang mixes sizes around a strong center piece for a collected, gallery feel. The paper-template method works for both; only your arrangement on the floor changes.
Color story. Unify thrifted frames with one coat of spray paint in matte black, warm brass, or the wall’s own trim color. Or keep the frames neutral and let the art carry the color. For more on wall composition, see our gallery wall layout ideas.
Beyond frames. The same no-nail approach hangs lightweight baskets, a round mirror, or a small shelf, as long as you respect the weight rating. Mixing a three-dimensional object into a flat gallery adds depth without adding holes.
Frequently Asked Questions
How much does a no-nail gallery wall cost?
About $35 in materials for six frames at roughly $4 each (thrift or flat-pack) plus one pack of adhesive picture-hanging strips at about $9. Thrifting the frames can push the total under $25. Prices are approximate and vary by store and region.
How far apart should gallery wall frames be?
A consistent gap of about 2 to 3 inches between frames is the reliable rule. Keeping the spacing even is what makes a mixed-size group read as one intentional composition instead of a random scatter.
Do adhesive strips really hold picture frames?
Yes, within their rated weight. The two things that make them fail are exceeding the weight rating on the pack and not letting the wall-side adhesive cure. Match the strip size to the frame weight, press for 30 seconds, and wait about an hour before hanging.
Are adhesive picture strips damage-free for renters?
They are designed to be, if removed correctly: stretch the tab slowly straight down along the wall rather than pulling the frame outward. They hold best on smooth, cured painted walls, and less reliably on heavy texture or fresh paint.
How do I plan a gallery wall without making holes?
Trace each frame onto paper, cut out the templates, and arrange them on the floor and then on the wall with painter’s tape until the layout looks right. Only then commit with adhesive strips. The paper stage is where all the decisions get made, at zero cost.
Related Guides
- Gallery wall layout ideas
- Budget wall decor ideas that don’t look cheap
- Apartment decorating ideas on a budget
Illustrations on this page are AI-generated for demonstration and do not depict a specific product or a real store receipt. Costs are approximate.