Peel-and-Stick Backsplash: A Renter-Safe Kitchen Upgrade for About $40
Affiliate Disclosure: DecorDesignIdeas.com is a participant in the Amazon Services LLC Associates Program, an affiliate advertising program designed to provide a means for sites to earn advertising fees by advertising and linking to Amazon.com.
As an Amazon Associate, we earn from qualifying purchases. This comes at no extra cost to you.
Peel-and-Stick Backsplash: A Renter-Safe Kitchen Upgrade for About $40
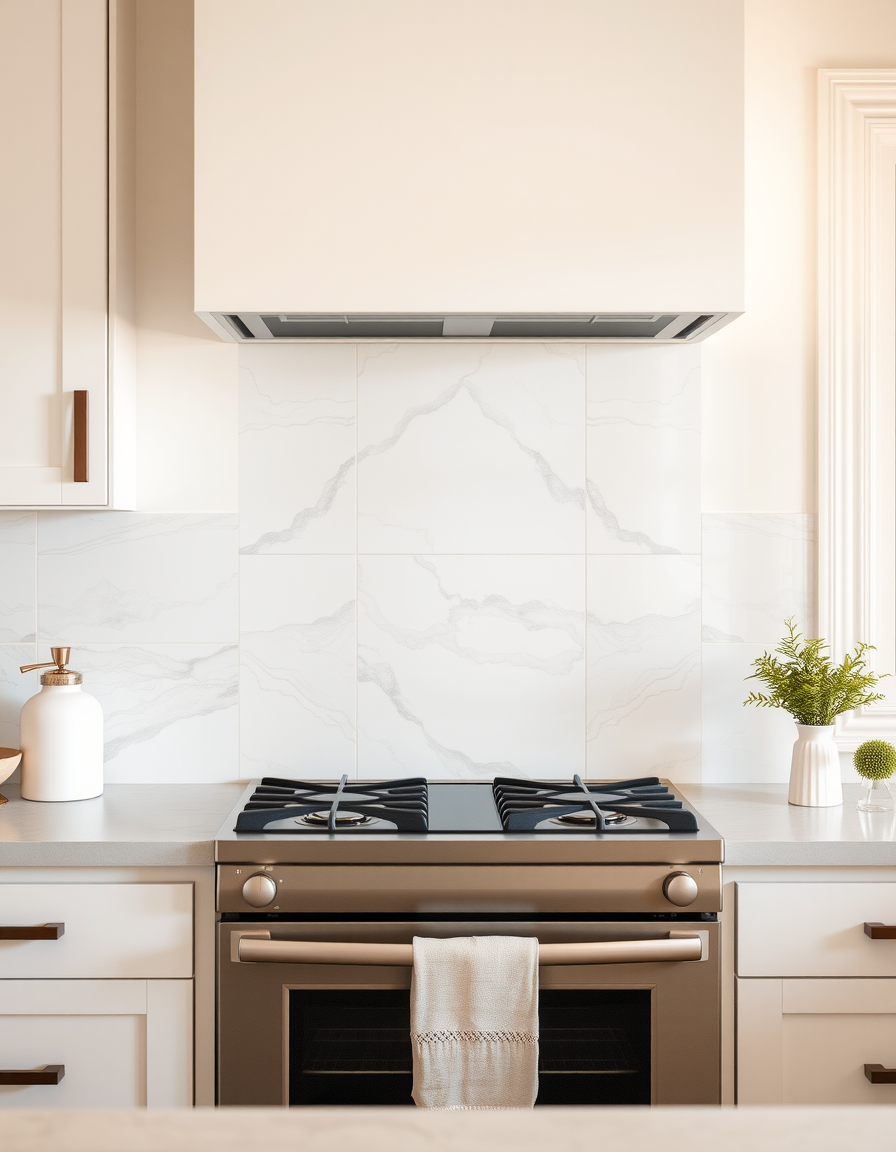
A tiled backsplash is one of the fastest ways to make a kitchen look finished, but real tile means mortar, grout, a wet saw, and a weekend you will not get back. In a rental, it also means damage you cannot undo. On a smooth wall, peel-and-stick tile gets you most of the look for roughly $30 to $50 in materials on a small section, with no grout, no drills, and nothing you cannot take with you when you move.
This is the honest, numbers-first version of the project: what the sheets actually cost, how to price your own wall from the carton’s coverage, the surface rule that decides whether they stick at all, and the one caveat about removal that most tutorials skip. Costs and coverage vary materially by product, store, and region, so treat every number here as a realistic ballpark to check against the box, not a claimed receipt.
For another renter-safe wall upgrade, see our guide on budget wall decor ideas that don’t look cheap.
What it actually costs
Here is a worked example for a small run behind the stove, roughly 3 feet wide and about 18 inches tall, which is about 4.5 square feet. Measure your own wall and price it from the carton’s stated coverage; the numbers below are one realistic example, not a fixed total.
| Item | Worked example | Approx. cost |
|---|---|---|
| Peel-and-stick tile sheets | 5 gel/vinyl mosaic sheets (check the carton for coverage) | ~$6-10 each |
| Utility knife | For trimming edges (likely owned) | ~$0 |
| Tape measure | For sizing the section (likely owned) | ~$0 |
| Materials subtotal | small section, product-dependent | ~$30-50 before tax |
That range assumes you already own a tape measure and a utility knife or sharp scissors, which most kitchens have in a drawer. The big variable is the tile itself: budget vinyl sheets can run as little as $2 to $4 each, while premium gel mosaic sheets (the ones with a glossy, glass-like finish) run closer to $8 to $10, and some are sold in multi-packs. A specific product priced by the carton, say two multi-packs of a subway-style peel-and-stick tile, can land near $50 for this size section, so always confirm the coverage and price on the box before you buy.
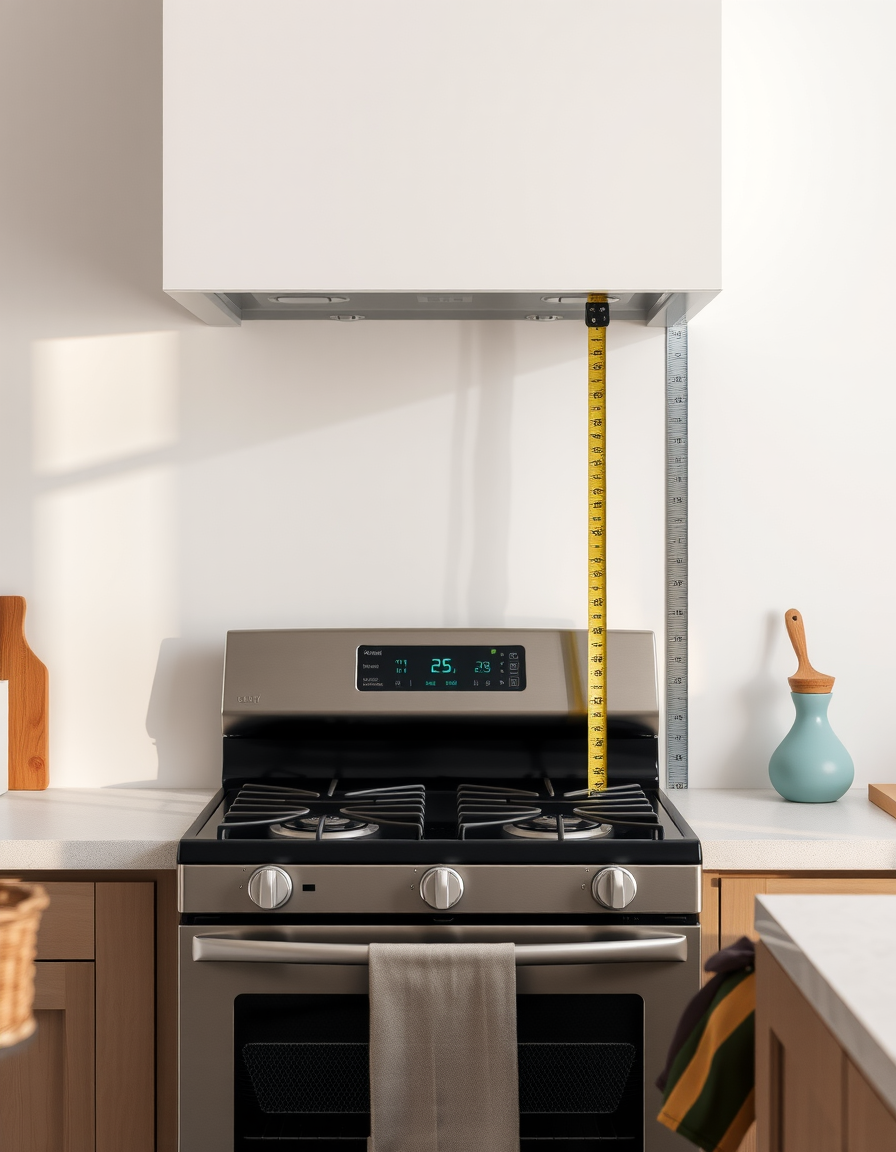
Why measure first, before you buy? This is the part that decides whether you buy 4 sheets or 7. Coverage per sheet is printed on the carton, but that is the nominal size, and real installs lose material to cuts around outlets, the edge of the counter, and the underside of upper cabinets. Measure your actual section (width times height in feet), divide by the carton’s coverage, then add roughly one extra sheet for every four you calculate. Running out one row short is the most common way this project stalls, because dye lots and finishes vary between batches.
The shopping list, with links
- Peel-and-stick tile: Mosaic sheets in a finish you like. Browse peel-and-stick backsplash tile on Amazon. Buy one extra sheet beyond your measured count for cuts and mistakes.
- A sharp utility knife: A fresh blade matters; a utility knife with snap-off blades cuts the vinyl cleanly where dull scissors tear it.
- A degreaser: The adhesive only grabs a clean wall. A spray of kitchen degreaser cleaner removes the invisible cooking film that would otherwise keep tiles from sticking.
You will also need: a tape measure, a pencil, a level or a straightedge, and a clean cloth.
How to install a peel-and-stick backsplash, step by step
The whole job comes down to two things: a genuinely clean surface, and a straight, level first row. Get those right and the rest of the sheets follow.
1. Measure the section and buy for waste
Measure the width and height of the area you want to cover and multiply to get square feet. A small behind-the-stove run is often around 4.5 square feet. Divide by the coverage per sheet (about 1 square foot) and add roughly 20 percent for cuts. Write the number down and buy that many sheets in one trip, in one purchase, so they come from the same batch.
2. Clean and degrease the wall
Peel-and-stick adhesive is unforgiving about grease. Kitchen walls carry a thin, invisible film of cooking oil, especially behind a stove, and tiles pressed onto that film will lift at the corners within days. Spray the wall with a degreaser, wipe it down, and then go over it once more with plain water to remove any cleaner residue.
3. Let it dry completely
Do not rush this. The wall has to be bone dry before the first sheet goes up; any lingering moisture weakens the bond. Give it at least an hour, longer in a humid kitchen. While you wait, dry-lay your sheets on the counter to plan the pattern and see where cuts will fall.
4. Find your level starting line
A backsplash reads wrong if the grid tilts, and counters are not always level. Rather than trusting the countertop, measure up a consistent height and draw a light, level pencil line as your baseline for the first row. Start your first sheet on that line, in the most visible spot (usually centered behind the stove), and work outward.
5. Peel, align, and press from the center out
Peel the backing, line the sheet up to your baseline and to the sheet beside it so the pattern matches, and press it down from the center outward to push out air. Most mosaic sheets are designed so the edges interlock and the seams disappear. Take your time on the first sheet; every sheet after it references that one.
6. Trim the edges with a utility knife
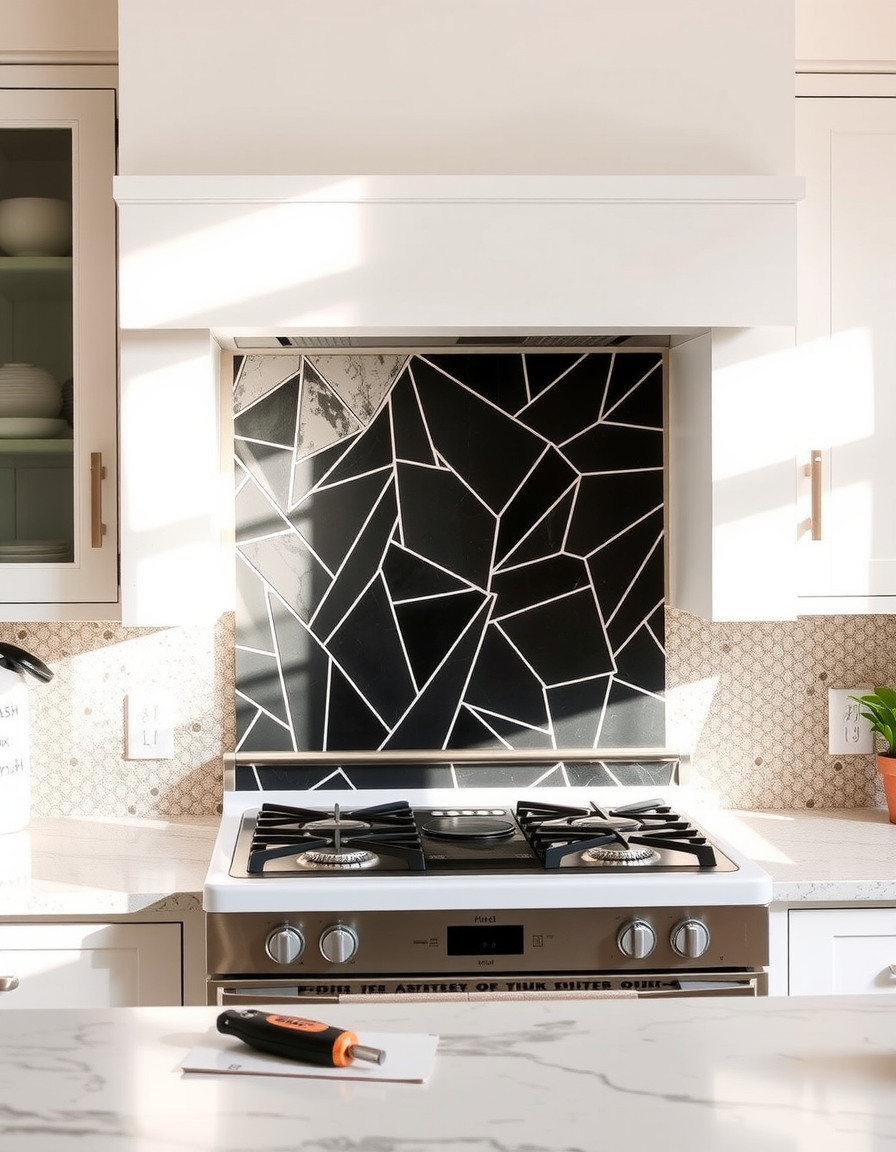
At the counter, the edge of the wall, and around outlets, trim with a sharp utility knife against a straightedge. Score first, then cut; forcing a dull blade tears vinyl. For outlets, turn off the power at the breaker, unscrew the cover plate, cut the tile to fit around the box, and screw the plate back over the edge for a clean finish.
7. Press the whole section firmly
Once everything is up, go back over the entire surface and press hard, paying extra attention to the seams and corners. Some products suggest running a clean roller or a credit card edge over the tiles to seat the adhesive. This last pass is what keeps the corners down over time.
Pro tips
- Buy one extra sheet, always. Batches vary slightly in color and finish, so going back for “just one more” can leave a visible mismatch. The spare sheet is cheap insurance and a future repair patch.
- Warm the tiles in a cold kitchen. Adhesive is sluggish when cold. If your sheets have been in a cold car or garage, let them come to room temperature so they grip on contact.
- Keep them away from direct flame. On a gas range, do not run vinyl tile right up against or behind open burners. Keep a sensible gap and check the product’s heat rating; these are decorative, not heat shields.
- Test one corner before you commit. Stick a single sheet, leave it a day, then peel a corner. If it lifts paint, your wall paint is the weak layer, and you will want to know that before you tile the whole run.
- Do outlets last. Fitting around an outlet is the fiddliest cut. Get the flat field looking good first so you are confident with the knife by the time you reach the tricky bits.
Variations
Finish. Glossy white or marble-look mosaic reads as the most “real tile,” while a matte subway pattern looks more modern and hides fingerprints. Metallic or mirrored sheets add sparkle but show every seam, so they demand a straighter install.
Coverage. You do not have to tile floor-to-cabinet. A single band behind the stove, or a strip that runs only under the upper cabinets, gives a lot of the effect for half the sheets. Deciding where the backsplash stops is a design choice; a clean horizontal edge along a level line looks intentional.
Layer it in. Once the tile is up, small changes make it look built-in: swap a dated outlet cover for a modern one, add a slim shelf, or run a light strip under the uppers to graze the new texture. For more small-kitchen ideas, see our guide on apartment decorating ideas on a budget.
Frequently Asked Questions
How much does a peel-and-stick backsplash cost?
For a small section of about 4.5 square feet, roughly $30 to $50 in materials, depending heavily on the tile. Budget vinyl sheets can bring it down toward $15 to $25; premium gel sheets push it higher, and a specific product priced by the carton can land near $50. Always price your own wall from the coverage printed on the box; figures are approximate and vary by store and region.
Is a peel-and-stick backsplash renter-friendly?
Generally yes, because it needs no grout, mortar, or drilling. The honest caveats are two: it grips reliably only on a smooth, non-textured wall, and removal varies by product. Some tiles peel off cleanly; others need to be warmed with a hair dryer to soften the adhesive, and on some painted drywall they can still lift paint. Test a single sheet in an inconspicuous spot first, and check your lease.
Will it stick over textured or painted walls?
It sticks best on smooth, clean, non-textured surfaces. Heavy orange-peel or knockdown texture keeps the adhesive from making full contact, so the tiles lift at the high points. Fresh or glossy paint can also reduce grip; a clean, cured, matte or eggshell wall is ideal.
How do I cut peel-and-stick tile around outlets?
Turn off the power at the breaker and remove the outlet cover plate. Measure and cut the tile to fit around the outlet box with a sharp utility knife, then screw the cover plate back on over the tile edge for a clean, finished look.
How long does a peel-and-stick backsplash last?
With a properly cleaned, degreased, and dry wall, several years is realistic for a decorative backsplash. Corners lifting is the usual first sign of failure, and it almost always traces back to grease or moisture left on the wall at install, not the tile itself.
Related Guides
- Budget wall decor ideas that don’t look cheap
- Apartment decorating ideas on a budget
- Home decor tips under $100 that look expensive
Illustrations on this page are AI-generated for demonstration and do not depict a specific product or a real store receipt. Costs are approximate.