How to decorate above kitchen cabinets

Affiliate Disclosure: DecorDesignIdeas.com is a participant in the Amazon Services LLC Associates Program, an affiliate advertising program designed to provide a means for sites to earn advertising fees by advertising and linking to Amazon.com.
As an Amazon Associate, we earn from qualifying purchases. This comes at no extra cost to you.
How to decorate above kitchen cabinets
The gap between the top of your kitchen cabinets and the ceiling is one of those spaces that everyone notices and nobody knows what to do with. It collects dust, looks empty, and the internet offers two extremes: stuff it with fake ivy and roosters, or leave it bare and call it “minimalist.”
For more on this topic, see our guide on Small kitchen storage hacks.
Neither answer is complete. The right approach depends on the gap height, your kitchen style, and how often you’re willing to clean up there.
For more on this topic, see our guide on Kitchen island decor and styling.
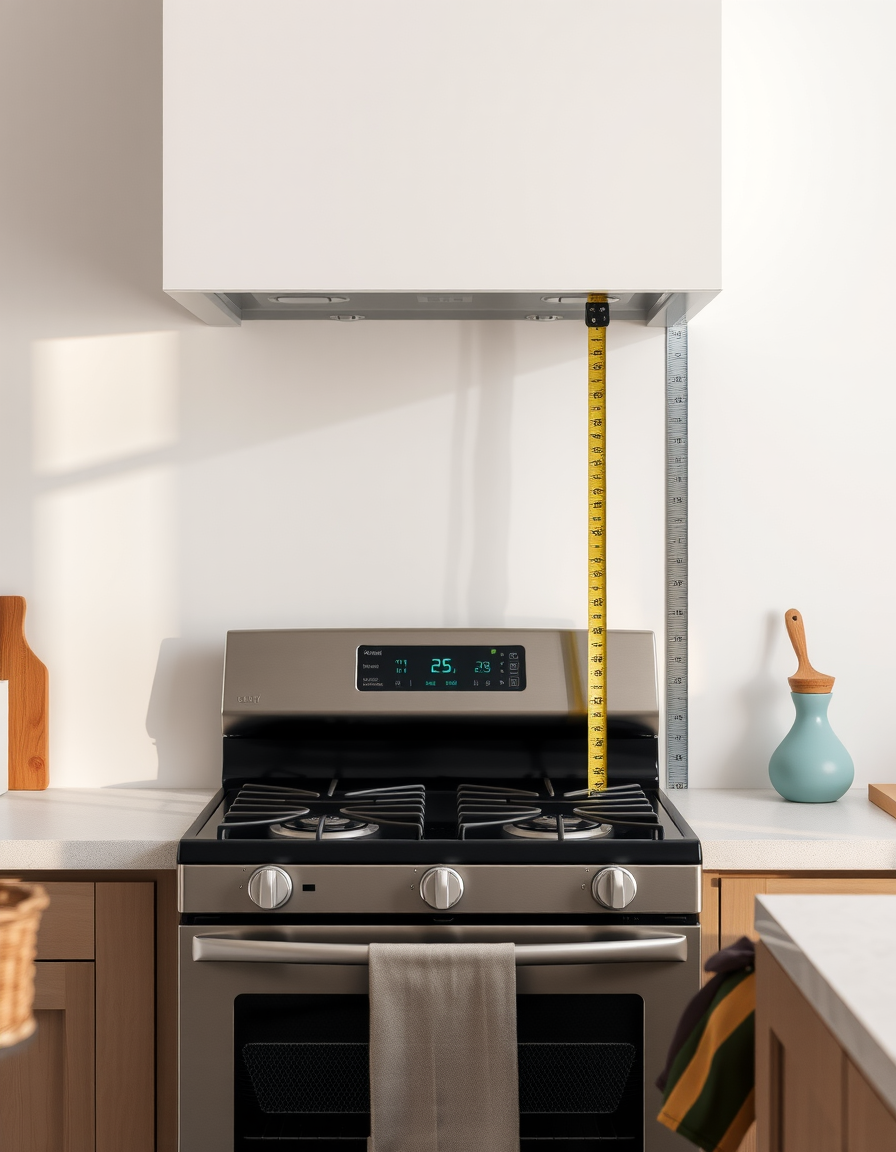
First: measure the gap
The height of the space above your cabinets determines what can actually go there.
| Gap height | What fits | Approach |
|---|---|---|
| Under 6 inches | Almost nothing | Leave it bare or install crown molding |
| 6–12 inches | Flat items, small decor | Low baskets, artwork leaning against the wall |
| 12–18 inches | Medium decor, books | Vases, pottery, baskets, cookbooks |
| Over 18 inches | Tall items, plants | Large vases, trailing plants, oversized art |
Trying to place a 14-inch vase in a 10-inch gap creates a cramped look. Measure first, shop second.
Option 1: Close the gap with crown molding or trim
If you want the space to disappear, extend the cabinets to the ceiling visually by adding crown molding along the top. This creates a built-in look and eliminates the dust-collecting shelf entirely.
How: Attach standard crown molding (3 to 5 inches) along the top edge of the cabinets using finish nails or adhesive. Paint it to match the cabinets or the ceiling. For a bolder look, add a flat board (1x6 lumber) across the top of the cabinets first, then attach molding to that board.
Cost: $30–$80 for materials in a standard kitchen. A carpenter charges $200–$400 for professional installation.
Best for: Modern kitchens, small kitchens where you want a clean line, kitchens with less than six inches of gap.
Option 2: Greenery and trailing plants
Plants are the most popular above-cabinet decoration for good reason. They soften the hard lines of cabinets, add color, and fill the space organically.
Real plants that work: - Pothos: trails beautifully, survives low light and neglect
- Spider plant: arching leaves spill over the edge naturally
- English ivy: classic trailing look, needs moderate light
Faux plants that work: Real plants above cabinets are hard to water and hard to clean. Quality faux trailing greenery from Nearly Natural or IKEA (Fejka line) is a legitimate option. Place them in woven baskets or ceramic pots so the fake stems aren’t visible.
Placement: Set plants at the corners and one in the center. Three to five plants across a standard kitchen wall create a lush effect without overcrowding.
Cost: $10–$30 per faux plant, $5–$15 per real plant plus pots.
Option 3: Baskets and woven storage
Woven baskets in a row above the cabinets add texture and actually function as storage. Use them for items you rarely need: holiday serving dishes, extra table linens, picnic supplies.
Best basket types: - Rectangular wicker baskets that sit flat against the wall
- Round rattan baskets with lids (hide contents, reduce dust)
- Woven market baskets in varied sizes for a collected look
Arrangement: Use odd numbers , three or five baskets of varying sizes. Alternate large and small rather than lining up identical baskets. Mix natural rattan with a white or black painted basket for contrast.
Cost: $10–$25 per basket at HomeGoods, Target, or thrift stores.
Option 4: Pottery and ceramics
A curated collection of pottery , mixing heights, shapes, and finishes , creates a gallery effect above the cabinets.
What works: - Ceramic vases (mix tall and short)
- Handmade bowls displayed upright
- Stoneware pitchers or crocks
- Terracotta pots (even empty ones)
Color approach: Stick to a two-tone palette. All-white pottery looks clean and modern. A mix of cream and terracotta feels warm and Mediterranean. Avoid rainbow collections of colored ceramics , they read as “shelf of random mugs” from across the room.
Spacing: Leave 4 to 6 inches between each piece. Overcrowding the space makes it look cluttered rather than curated.
Cost: $5–$30 per piece at thrift stores, $15–$50 at retail.
Option 5: Cookbooks and vintage books
A row of cookbooks leaning against the wall (not standing upright and packed tight) creates a casual, kitchen-appropriate display. This works best in gaps of 12 inches or more.
How to arrange: Lean books at a slight angle, alternating tall and short. Place a small object between groups , a wooden spoon, a small plant, a ceramic dish — to break up the row.
What to avoid: Don’t turn the space into a library. Ten to fifteen books maximum for a full-width cabinet run. More than that looks like overflow storage rather than decor.
Cost: $0 if you already own cookbooks. $2–$5 per book at thrift stores.
Option 6: Artwork leaned against the wall
Framed prints, vintage signs, or unframed canvases leaned against the back wall create a casual gallery. This works especially well in gaps under 12 inches where the art sits low and the top is visible from below.
Best art types: - Botanical prints in simple frames
- Vintage kitchen or market posters
- Abstract art in muted tones
- Black-and-white photography
Arrangement: Overlap frames slightly (front piece covering 20 percent of the back piece) for a layered look. Three frames in graduated sizes is the safest arrangement.
Cost: $10–$30 per print, or free if you print your own and use thrift store frames.
Option 7: Lighting
LED strip lights or puck lights installed above the cabinets turn the gap into an ambient light feature. The light bounces off the ceiling and creates a warm glow that makes the kitchen feel taller and more inviting, especially in the evening.
Best options: - LED strip light along the back edge of the cabinet tops (hidden from view, light washes the ceiling)
- Battery-powered puck lights for renters who can’t hardwire
- Rope light coiled along the top for a softer glow
This can be combined with any other option, plants with backlighting look especially good.
Cost: $15–$30 for an LED strip kit.
Option 8: Leave it empty (intentionally)
If the gap is under six inches, if your kitchen is already visually busy, or if you simply don’t want to dust objects eight feet off the ground, leaving the space empty is a valid design choice.
Make it look intentional: Paint the wall behind the cabinets the same color as the cabinets or the same color as the ceiling. This minimizes the visual gap and makes the space read as “finished” rather than “forgot about that part.”
What not to put above kitchen cabinets
| Item | Why it doesn’t work |
|---|---|
| Fake ivy garlands | Collect grease and dust, look dated, hard to clean |
| Wine bottle collections | Read as “ran out of counter space,” not decor |
| Themed figurines | Roosters, chickens, chef statues, these date a kitchen instantly |
| Cardboard boxes | Visible storage boxes look like a garage, not a kitchen |
| Too many items | Overcrowding creates visual noise in a room that already has a lot going on |
Cleaning and maintenance
Everything above the cabinets collects kitchen grease and dust. Plan for maintenance:
- Baskets and pottery: Wipe down every three to four months with a damp cloth
- Faux plants: Rinse under the shower every two months, shake dry
- Real plants: Water every one to two weeks (use a long-necked watering can or ice cubes for slow release)
- Books: Dust monthly or place them in a glass-front display box
- Molding/trim: Wipe during your regular kitchen deep clean
If you won’t clean it, don’t put it up there. Greasy, dusty decor is worse than an empty gap.
Above-cabinet decor by kitchen style
| Kitchen style | Best approach | Why |
|---|---|---|
| Modern/minimal | Crown molding or LED lighting | Clean lines, no clutter |
| Farmhouse | Baskets + greenery | Texture and warmth |
| Traditional | Pottery + cookbooks | Classic and collected |
| Bohemian | Trailing plants + layered art | Organic and eclectic |
| Industrial | Leave empty or add Edison bulb lighting | Matches the raw aesthetic |
Bottom line
Measure the gap first. Under six inches, close it with trim or leave it bare. Over six inches, pick one approach, greenery, baskets, pottery, books, or art, and commit to it. Don’t combine five different strategies across one cabinet run. One cohesive look beats a cluttered mix every time, and anything you place up there needs to be something you’ll actually dust.
Frequently asked questions
Should I extend cabinets to the ceiling instead of decorating the gap?
If you’re doing a kitchen renovation, absolutely. Floor-to-ceiling cabinets maximize storage and eliminate the decorating question entirely. If you’re not renovating, crown molding or a fascia board creates the same illusion for a fraction of the cost.
How do you keep the space above cabinets from getting dusty?
Line the top of the cabinets with parchment paper or shelf liner before placing any decor. When it’s time to clean, remove the liner with all the dust, replace it, and put the decor back. This saves you from scrubbing grease off the cabinet tops.
Can you put real plants above kitchen cabinets if there’s no window nearby?
Pothos and spider plants tolerate low light, but they won’t thrive without some indirect light. If the space is far from any window, faux plants are the better long-term choice. Real plants in dark conditions grow leggy and lose leaves.
Related guides
- Kitchen backsplash ideas on a budget
- Kitchen island decor and styling
- Kitchen lighting guide: task, ambient, and accent layers
- Small kitchen storage hacks