Thrift-Store Lamp Makeover: A $25 Flip That Looks Like Way More
Affiliate Disclosure: DecorDesignIdeas.com is a participant in the Amazon Services LLC Associates Program, an affiliate advertising program designed to provide a means for sites to earn advertising fees by advertising and linking to Amazon.com.
As an Amazon Associate, we earn from qualifying purchases. This comes at no extra cost to you.
Thrift-Store Lamp Makeover: A $25 Flip That Looks Like Way More
Lighting is one of the most expensive-looking things in a room, and one of the easiest to fake cheaply. A designer-style table lamp can run well over a hundred dollars, but the shape of a good lamp is timeless; what dates it is a tired finish and a yellowed shade. Fix those two things and a $6 thrift-store lamp reads like a boutique piece. The whole flip costs about $25 in materials.
This is the honest, numbers-first version: what the lamp, the spray paint, and the shade actually cost, the prep step that decides whether your paint job lasts or peels, and the safety rules that matter when you are spraying paint near a cord and a socket. Costs below are approximate and vary by store and region, so treat them as a realistic ballpark, not a claimed receipt.
For more ways to make cheap finds look expensive, see our guide on home decor tips under $100 that look expensive.
What it actually costs
Here is the materials math for one lamp flip.
| Item | What we used | Approx. cost |
|---|---|---|
| Thrift-store lamp | Secondhand base with a working cord | ~$6 |
| Spray paint | 1 can, general-purpose (e.g. Rust-Oleum) | ~$6 |
| New drum shade | Plain fabric drum shade | ~$13 |
| Materials subtotal | ~$25 before tax |
That $25 assumes you buy a fresh shade, which is usually worth it because a clean shade does half the work of making the lamp look new. If the existing shade is in good shape, clean and reuse it, and the flip drops to around $12. The one number you should not chase downward is the lamp itself: buy one with a solid base and, most importantly, a working cord and socket. This is a finish makeover, not an electrical repair.
Why does prep matter more than paint? Because spray paint sprayed onto a slick, glossy ceramic or metal base without prep will look great for a week and then chip at every touch point. The finish on most thrift lamps is designed to be smooth and non-porous, which is the opposite of what paint needs to grip. A few minutes of cleaning and scuffing, plus a light bonding or primer coat on very slick surfaces, is the difference between a makeover that lasts years and one that fails by next month.
The shopping list, with links
- Spray paint: One can of general-purpose spray paint in your color. Browse spray paint for metal and ceramic on Amazon. Matte black, warm brass, and soft white are the most designer-neutral choices.
- A new drum shade: A plain drum lamp shade in white or linen instantly modernizes an old base. Measure your harp and check the fitter type before buying.
- Fine sandpaper and painter’s tape: fine-grit sandpaper to scuff the surface, plus low-tack painter’s tape to mask the cord and socket.
You will also need: a drop cloth or a large cardboard box, a clean rag, and a well-ventilated space (outdoors or a garage with the door open).
How to flip a thrift-store lamp, step by step
The order matters: unplug, prep, mask, paint in thin coats, and finish with a fresh shade. Rushing the prep or the coats is where most lamp flips go wrong.
1. Find a lamp with good bones
At the thrift store, ignore the finish and the shade and look at the shape and the wiring. You want a base you like the silhouette of, that feels solid and not top-heavy, with a cord and plug that are intact and a socket that is not cracked or scorched. A working lamp with an ugly finish is exactly what you want; a broken one is a project you are not signing up for.
2. Unplug it and remove the shade
Before you touch anything else, unplug the lamp. Remove the shade and the harp, and take out the bulb. Everything from here happens with the lamp disconnected from power.
3. Clean and scuff the surface
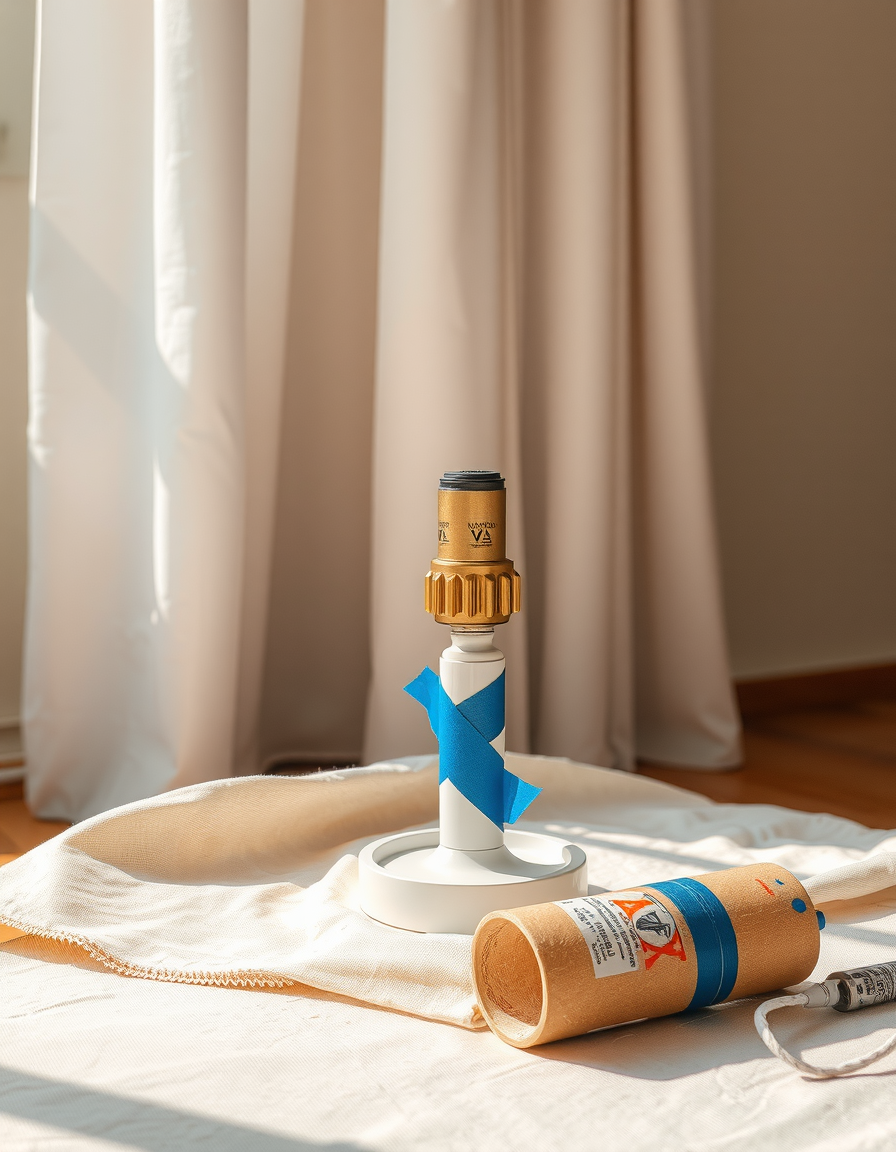
Wipe the base down to remove dust and any greasy residue, then lightly scuff the whole surface with fine sandpaper. You are not trying to strip it, just to knock the gloss off so paint has something to bite into. Wipe away the sanding dust with a slightly damp rag and let it dry.
4. Mask the cord, socket, and switch
Use painter’s tape to cover the cord, the socket, and the switch completely. Do not paint any electrical part. Paint on the socket or switch can interfere with the contacts and is a hazard; paint on the cord can crack and flake over time. Mask carefully; this is the step that keeps the project safe.
5. Spray in thin, even coats
Work in a well-ventilated space over a drop cloth. Shake the can well. Hold it about 8 to 10 inches from the base and spray in light, overlapping passes, keeping the can moving so paint does not pool. Two or three thin coats always beat one thick coat, which sags and drips. Let each coat flash off according to the recoat window on the can (often a few minutes for a light re-coat, or after an hour if you miss the window).
6. Let it cure, then reassemble
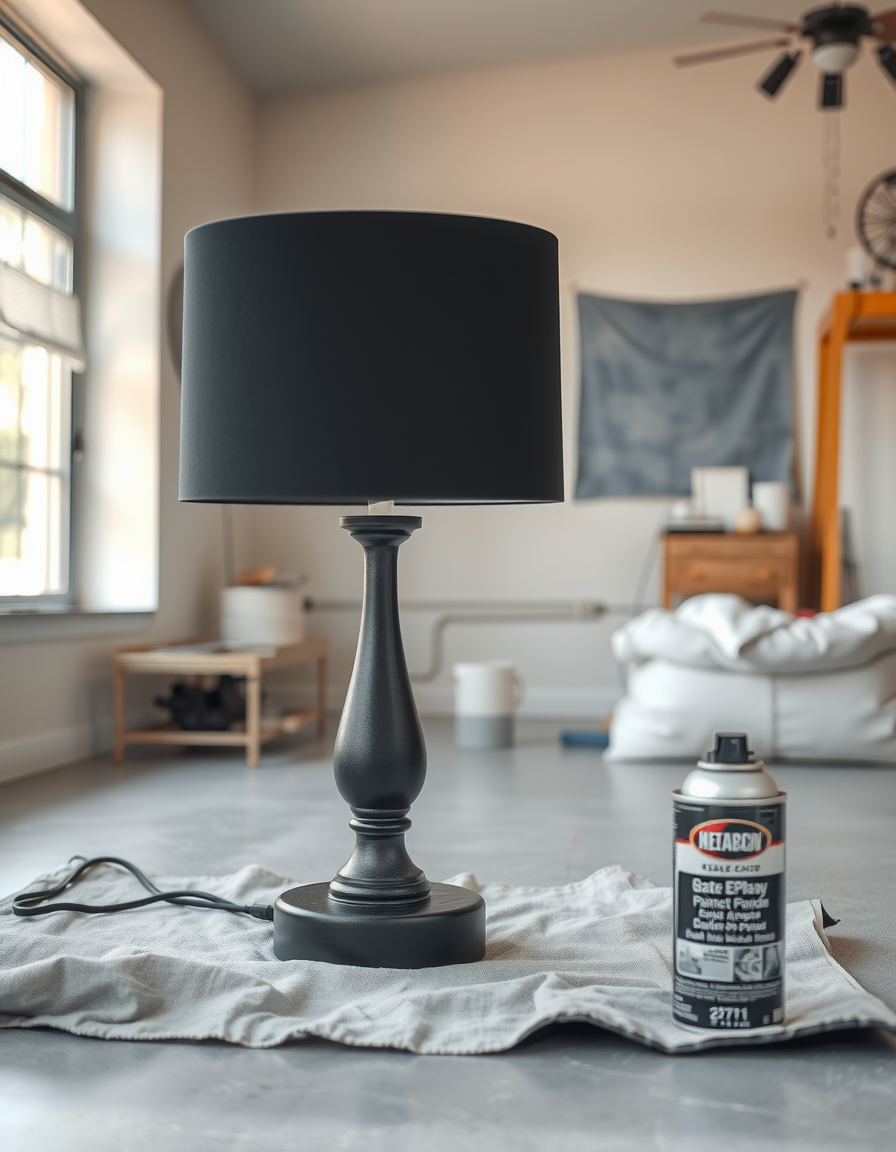
Paint is dry to the touch fast but takes longer to fully cure and harden. Give it as long as the can recommends before handling, ideally overnight, so you do not leave fingerprints in a soft finish. Then remove the tape, put the harp and bulb back, and add the shade.
7. Add the fresh shade
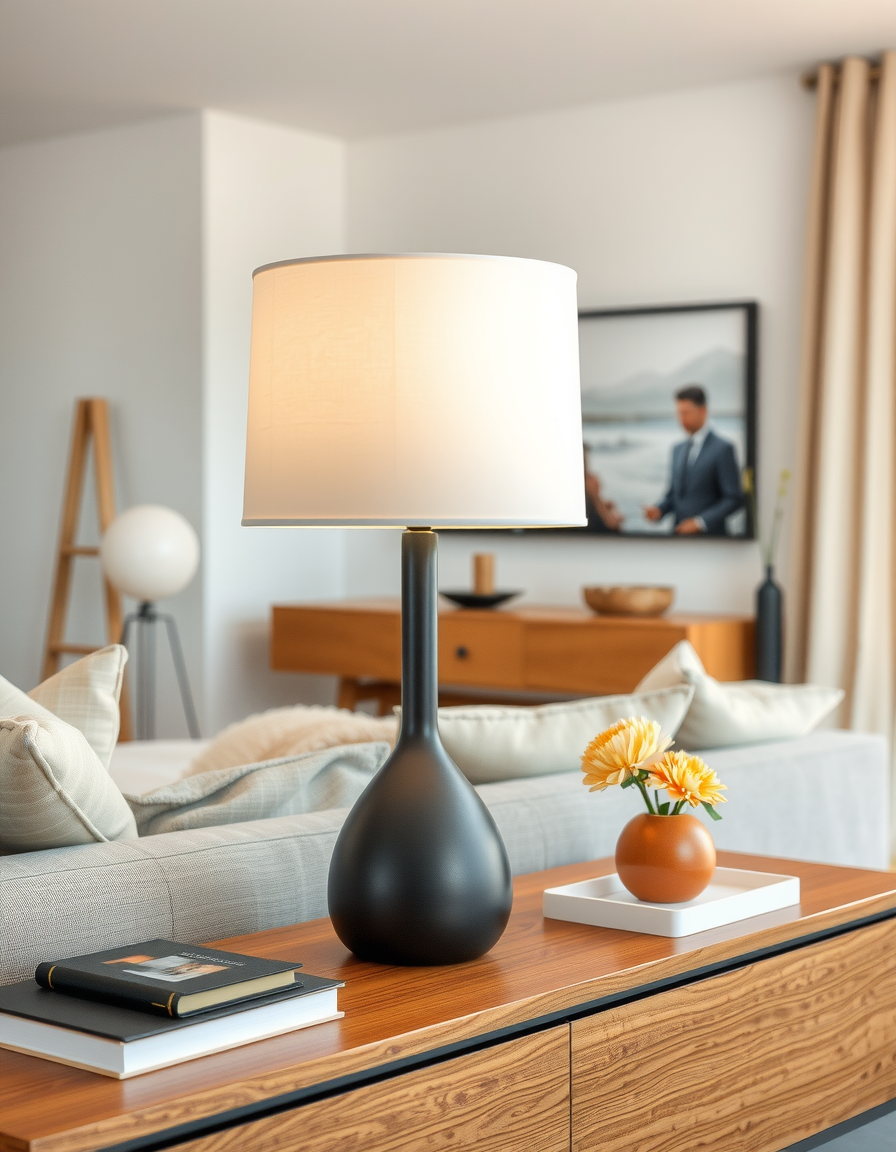
Top it with the new drum shade. This is the moment the whole thing snaps into looking expensive: a crisp white or linen drum over a matte black or brass base reads as a considered, modern lamp rather than a thrift-store rescue.
Pro tips
- Prime very slick or glossy bases. On high-gloss ceramic or shiny metal, a light coat of bonding primer first dramatically improves adhesion. Spray paints labeled for “all surfaces” have primer built in, which saves a step.
- Warm the can in cold weather. Cold paint sprays unevenly and spatters. Let the can sit at room temperature and it atomizes into a smoother finish.
- Rotate, do not chase drips. Set the base on a turntable or a box and rotate it between passes rather than tilting the can. If a drip forms, let it dry fully and sand it out; wiping wet paint makes it worse.
- Match the shade to the harp. Bring your harp size and fitter type to the store, or measure carefully online. A shade that is too small or the wrong fitter will not sit level and undoes the whole effect.
- Keep the ventilation honest. Spray paint fumes are not something to tough out in a closed room. Outdoors or a garage with the door open and a fan is the right call.
Variations
Color. Matte black is the safest designer-neutral and hides imperfections. Warm brass or gold spray paint turns a plain base into a glam accent. A soft off-white or greige keeps things calm and Scandinavian. Metallics show every flaw, so they reward better prep.
Two-tone. Tape off and paint just the base a bold color while leaving a metal neck or detail its original finish, or vice versa, for a more custom, high-end look. The masking is a little more work but costs nothing extra.
Beyond lamps. The same clean-scuff-mask-thin-coats method flips candlesticks, small vases, picture frames, and cabinet hardware. Once you have the technique, a can of spray paint is one of the cheapest decor tools you own. For more budget upgrades, see our budget wall decor ideas.
Frequently Asked Questions
How much does a thrift-store lamp makeover cost?
About $25 in materials: roughly $6 for a secondhand lamp with a working cord, $6 for a can of spray paint, and $13 for a new drum shade. Reusing the old shade drops it to around $12. Prices are approximate and vary by store and region.
Can you spray paint a lamp base?
Yes. Clean and lightly scuff the base first so the paint grips, mask off the cord and socket, and apply two or three thin coats held about 8 to 10 inches away. On very glossy surfaces, a bonding primer or an all-surface spray paint improves adhesion.
Is it safe to paint a lamp?
It is, as long as you unplug the lamp, never paint the socket, switch, wiring, or cord, and work in a well-ventilated space. Mask all the electrical parts with painter’s tape. If a lamp needs rewiring, that is a separate job; buy one that already works.
Do I need to prime a lamp before spray painting?
On slick, glossy ceramic or shiny metal, yes; a light bonding primer greatly improves how well the paint sticks and resists chipping. Spray paints labeled for all surfaces have primer built in, so a separate primer coat is optional with those.
How long should spray paint dry on a lamp?
It is dry to the touch within minutes, but wait for the full cure time listed on the can, ideally overnight, before handling or adding the shade. Reassembling too soon leaves fingerprints and marks in the soft, uncured finish.
Related Guides
- Home decor tips under $100 that look expensive
- Budget wall decor ideas that don’t look cheap
- Cozy reading nook design ideas
Illustrations on this page are AI-generated for demonstration and do not depict a specific product or a real store receipt. Costs are approximate.