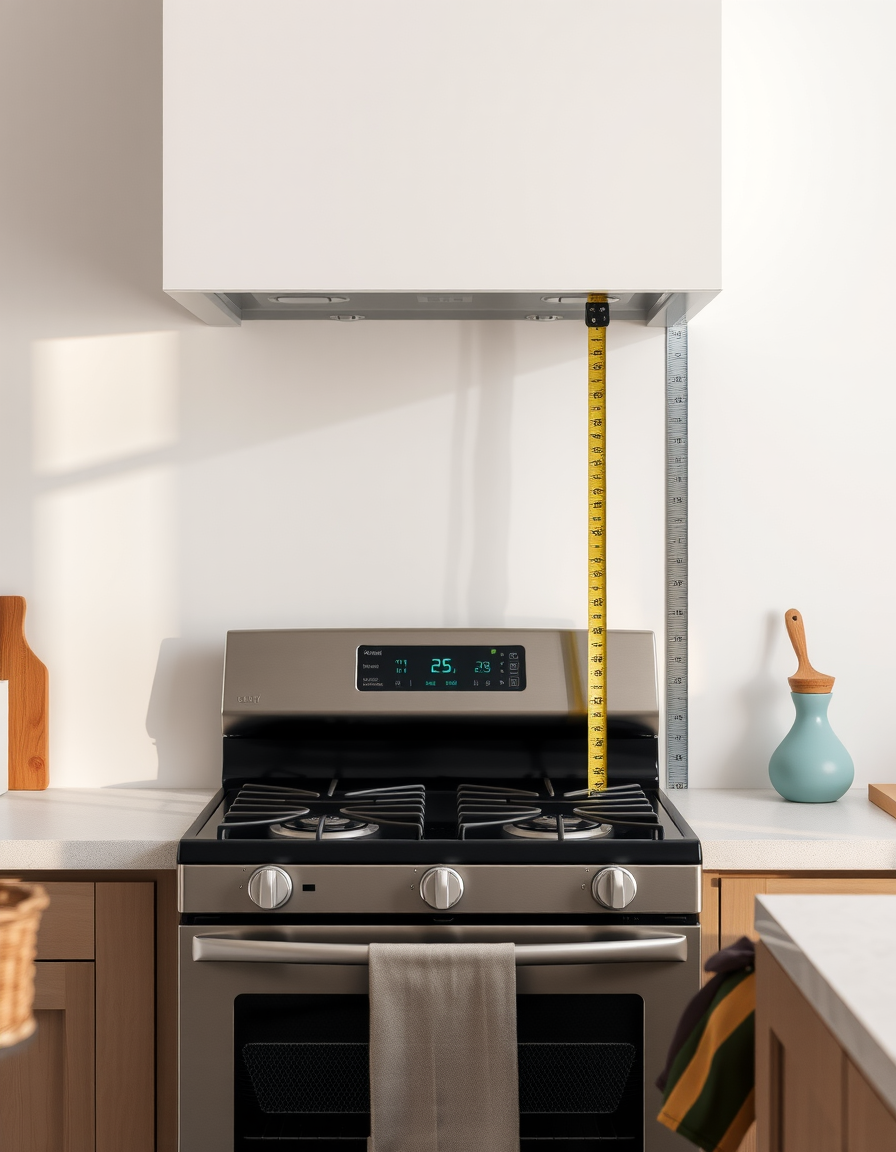
Kitchen lighting guide: task, ambient, and accent layers

Affiliate Disclosure: DecorDesignIdeas.com is a participant in the Amazon Services LLC Associates Program, an affiliate advertising program designed to provide a means for sites to earn advertising fees by advertising and linking to Amazon.com.
As an Amazon Associate, we earn from qualifying purchases. This comes at no extra cost to you.
Kitchens need more light per square foot than any other room. You are working with knives, reading recipes, and judging whether food is cooked. Bad kitchen lighting creates shadows exactly where your hands are, right on the cutting board under the overhead cabinets.
The fix is layered lighting: three types that handle different jobs. DecorDesignIdeas Editorial compares manufacturer install notes, ENERGY STAR lamp rules, and the residential ranges lighting trade sites publish from Illuminating Engineering Society practice. This desk does not run a lighting lab, and we do not treat a listing’s lumen number as a room measurement.
Living-room Kelvin and lamp height live in living room lighting ideas. Island seating and pendant count sit in kitchen island decor and styling. If the kitchen is also a storage problem, start with small kitchen storage hacks.
Listing check: under-cabinet bar, hardwired, retrofit can, and bulb links below are tagged Amazon searches we use to compare current listing length, trim size, and Kelvin. We are not restating Amazon brightness copy. Read the carton for lumens, CRI, and dimmer compatibility.
Affiliate disclosure: the Amazon links on this page carry the tag decordesignideas-20. If you buy through them, DecorDesignIdeas may earn a commission at no extra cost to you. It does not change what we tell you to check on the carton.
Before you buy a fixture
Tape the plan on the ceiling and the cabinet bottoms before you order. A pretty pendant that hangs in the walkway is still a miss.
- Measure the island, not the photo. Length, width, and the seated eye line from a stool. Pendant height is from the countertop up, not from the ceiling down.
- Find the junction boxes you already have. One center box can take a flush-mount. An island with no box is a hardwired job or a plug-in pendant, not a weekend swap.
- Read the housing stamp on existing cans. IC-rated (insulation contact) is required if the can sits against attic insulation. A non-IC housing stuffed into insulation is a heat problem.
- Pick one Kelvin family. Stay inside about 2700K to 3000K across ambient, task, and accent. A 2700K pendant next to a 5000K under-cabinet strip is the clash people blame on “the paint.”
- Confirm the dimmer type. LED-compatible dimmers are not optional if the bulbs say dimmable. A leftover incandescent dimmer is why LEDs buzz or drop out.
When to skip a hardwired layer
| Layer | Do it when | Skip it when |
|---|---|---|
| New recessed cans | You can cut the ceiling and the layout lights the counters, not the empty middle | Rental, asbestos popcorn, or you would grid six cans over the walkway and leave the sink dark |
| Under-cabinet LED bars | Smooth cabinet bottoms, a dedicated switch or plug, and a grease-cleanable lens | The run sits over a gas range with no heat rating on the carton |
| Island pendants | Island is at least about 4 feet long and you can keep 30–36 inches of air above the top | The fixture would sit in a doorway sightline or a tall cook’s forehead |
| In-cabinet / toe-kick strips | Glass fronts or a night path you actually use | You would hide a battery pack behind a door that slams it off |
| Plug-in strips and pucks | Lease, no electrician, or you want a reversible test | You cannot hide the cord without a trip hazard |
A rental that still has a single fluorescent box should start with under-cabinet plug-in bars and a dimmable flush-mount bulb, not a can-light demo. Reversible path notes live in renter-friendly decor hacks.
The task/ambient split, stated plainly
Kitchens are the room where a single fixture fails first, because two unrelated jobs share one floor. Ambient light is for moving through the space: the floor, the walkways, faces at the table. Task light is for the roughly 25 inches of counter depth where your hands actually work. Every serious lighting source, from the Lighting Research Center on down, starts from that split — light the room once, then light the work.
The geometry is the whole story. A ceiling can sits above and slightly behind you while you prep, so your shoulders throw a shadow exactly onto the cutting board. An under-cabinet bar sits at counter height, forward of your torso, so the light crosses your hands instead of stopping at your back. Extra ceiling cans do not fix that shadow; they just outline your silhouette more sharply.
| What you notice | The layer that fixes it |
|---|---|
| Counters go dark the moment you stand at them | Task — under-cabinet bars or strips |
| The room feels like a cave between the cans, or faces look gray at the table | Ambient — fill, a flush-mount, or a better can layout |
| Bright but clinical | Kelvin mismatch or missing dimmers, not missing fixtures |
| You navigate to the fridge by phone light at midnight | Accent — toe-kick, optional |
The split also decides where the money goes. Ambient mistakes are ceiling work: boxes, can cuts, switch legs. Task wins are counter work that hangs off the cabinet bottom. That makes under-cabinet the highest-leverage lighting buy in the room — and it is the cheapest layer to try, which is the fork below.
Under-cabinet: the listing path or the remodel path
Two honest ways exist to get task light under the cabinets, and they barely resemble each other in cost, switching, or permanence. Pick the path before you shop, because the fixture that fits one blocks the other.
The listing path: plug-in and reversible
Shop the specification block, not the lifestyle photo:
- Listed lumens per bar or per foot. Strip listings quote per reel or per foot; bar listings quote per fixture. Convert before comparing.
- Printed Kelvin and CRI. If a listing does not print Kelvin, skip it. CRI 90 printed is a bonus on cheap strips.
- Diffuser. Bare diode dots reflect in the backsplash. Compare kitchen backsplash ideas on a budget and note how a diffused bar reads as architecture while a bare strip reads as an arcade.
- Control. Rocker, hand-wave, or inline dimmer — and where that switch lands once the bar is mounted.
- Power. Plug-in adapter, USB, or battery. Batteries belong on pucks you open sometimes, not a daily prep run.
Install honesty: degrease the cabinet bottom or the adhesive lets go within a season, mount toward the front edge, and expect textured melamine to defeat tape — screw clips are the fix when a surface refuses adhesive.
Limits: the adapter eats an outlet, switching happens at the counter instead of the wall, and a plug-in run has a real brightness ceiling. On a lease, none of that matters. Pair it with the same no-damage logic as renter-friendly decor hacks and the peel-and-stick backsplash renter kitchen upgrade.
Band: about $15–$50 per run in current listings.
The remodel path: hardwired at rough-in
Direct-wire light bars, or strip in an aluminum channel with a snap-in diffuser, fed by a driver tucked inside an upper cabinet or mounted remotely:
- Switch leg. Task light deserves its own switch — at the doorway with the ambient, or on a 3-way if the kitchen has two entries.
- Dimmer matched to the driver. Phase type or ELV, per the driver carton. Mismatched dimmers buzz, drop out, or strobe at low settings.
- Heat and grease. Keep hardwired runs out of the range’s heat plume unless the fixture lists a rating for it.
- Access. A driver you can reach without uninstalling a cabinet full of dishes.
This path is cheap while walls or cabinets are open and genuinely expensive to retrofit afterwards. Spec it when the cabinets are being replaced anyway, and let the electrician quote it as one line of the larger job. Browse hardwired under-cabinet lighting to read driver and dimmer specs before that visit.
| Listing path | Remodel path | |
|---|---|---|
| Switching | At the bar or an inline dimmer | Wall switch, 3-way, or smart dimmer |
| Brightness ceiling | Real | Effectively none |
| Wiring | None — needs an outlet | Rough-in, driver, switch leg |
| Reversible | Fully | No — holes and wires |
| Cost per run | About $15–$50 | Higher, but marginal during a remodel |
| Best for | Rentals, testers, staying cabinets | Open walls, cabinet replacement |
The order this desk recommends: run the listing path first when the cabinets are staying. A season of cooking either confirms the layer was the problem or rules it out, and you have lost nothing. If a remodel later opens the wall, move the same Kelvin and brightness targets onto hardwired fixtures.
Layer 1: Ambient (general) lighting
Ambient light covers the whole room so you can walk around safely and see the floor, counters, and faces at the table. If your kitchen includes an eating zone, the over-table pendant rules live in dining room lighting ideas.
Recessed (can) lights
The workhorse of kitchen ambient lighting. Trade installers usually space cans about 4–6 feet apart and pull them toward the counters instead of parking a perfect grid over the empty floor. The “divide ceiling height in half” spacing line is a starting sketch for an 8-foot ceiling (about 4 feet apart), not a photometric plan.
Desk note: A 150-square-foot kitchen does not automatically “need 6–8 cans.” That count shows up in blog tables because it is easy to repeat. Count the work zones (sink, range, island, prep run) and put light on those, then fill gaps. Two extra cans over the walkway will not fix a dark sink.
LED retrofits (about $15–$30 each in current home-center listings) drop into many existing housings. Choose IC-rated housings if insulation sits above the ceiling. Read the retrofit’s listed housing compatibility; a 4-inch trim does not fit a 6-inch can.
Flush-mount ceiling fixtures
If your kitchen has one central junction box and you cannot (or do not want to) install recessed lighting, a large flush-mount fixture (18–24 inches) can carry general light. Look at the listed lumens on the fixture or the bulbs it takes. “2,000+ lumens” is a useful shopping filter for a small kitchen, not a guarantee the corners will be bright.
Cost: about $40–$150 for a solid flush-mount in current listings.
Layer 2: Task lighting
Task lighting puts focused, shadow-free light on work surfaces. This is the most important layer in a kitchen. The buy-path fork — plug-in listing versus hardwired remodel — is covered above; this section covers the fixtures themselves.
Under-cabinet lights
These are the highest-value kitchen lighting upgrade we keep seeing in remodel write-ups and renter threads. They light the countertop directly and cut the shadow your body throws when you stand under a ceiling can.
Types:
- LED strip lights (about $15–$30 per strip): Self-adhesive, flexible, easy to try. Best when you add a diffuser so you do not stare at a row of dots in the backsplash.
- LED puck lights (about $10–$20 for a 3-pack): Round, focused spots. Fine for a coffee zone. Weak as the only task light on a long run.
- LED light bars (about $20–$50 each): Rigid bars with built-in diffusers. Cleaner look, easier to aim.
Installation tip: Mount toward the front edge of the cabinet bottom, not against the back wall. Front-mounted bars wash the work surface. Back-mounted bars bounce off the backsplash and into your eyes. Degrease the cabinet bottom first or the adhesive lets go in a month.
Browse under-cabinet LED light bars by listed length and Kelvin, then match the run to the cabinet, not the photo crop.
Pendant lights over the island
A pair or trio of pendants hung so the bottom of the fixture sits about 30–36 inches above the island is the height Visual Comfort and most kitchen showrooms still publish. That range keeps sightlines open and the light on the prep surface.
Sizing rules this desk uses:
- Pendant diameter: roughly one-third the island width, then check the actual shade against a paper circle on the island
- Space pendants about 24–30 inches apart, and keep the outer shades a few inches inside the island ends
- For a standard 4-foot island: 2 pendants. For a 6-foot island: 2 larger pendants or 3 small ones. A linear bar is often cleaner than four tiny globes
Cost: about $40–$150 per pendant in the mid-range. Treat those as listing bands, not a bid.
Island decor that has to survive homework and chopping is in kitchen island decor and styling.
Over-sink lighting
A small pendant, a recessed downlight, or a directional track head aimed at the sink is the zone remodel punch lists still miss. If the window over the sink is your only “light,” the sink goes dark at 5 p.m. in winter.
Layer 3: Accent lighting
Accent lighting in kitchens is optional. It is what makes the room usable at 11 p.m. without turning the cans to full.
In-cabinet lighting
LED strip lights inside glass-front cabinets highlight dishware. Battery motion-sensor strips (about $10–$15) work for cabinets you open sometimes. Hardwired strips belong on display cabinets you are willing to wire.
Toe-kick lighting
LED strips under the base cabinets give a night path to the fridge. Warm white only. This is a small detail that reads expensive when the rest of the kitchen is already clean.
Cost: about $20–$40 for a short warm-white run in current strip listings.
Above-cabinet lighting
If upper cabinets stop short of the ceiling, strips on top wash the soffit and make the room feel taller. Dust is the honest downside. If you will not wipe the ledge, skip the glow — and see how to decorate above kitchen cabinets for what belongs on that ledge besides light.
Color temperature for kitchens
Kitchens need slightly brighter, slightly cooler light than living rooms for food prep, but not so cool the space feels like a clinic.
| Zone | Color temp this desk specifies | Why |
|---|---|---|
| Under-cabinet (task) | 3000–3500K | Neutral enough to judge doneness without going blue |
| Overhead ambient | 2700–3000K | Warm enough that the kitchen still feels like a room |
| Accent (in-cabinet, toe-kick) | 2700K | Night glow, not a second overhead |
Consistency rule: Stay within about 300K across the three layers. 2700K ambient with 3000K task blends. 2700K ambient with 5000K “daylight” strips looks like two different houses.
ENERGY STAR’s lamp requirements set a CRI floor of 80 for certified bulbs. For a kitchen, this desk shops CRI 90+ when the listing prints it, because food and wood tones shift under cheap 80 CRI daylight LEDs. That is a carton check, not a lab score we assigned.
Browse 3000K CRI 90 dimmable LED bulbs and read the Kelvin and CRI lines, not the lifestyle photo.
Budget breakdown
| Fixture | Budget | Mid-range |
|---|---|---|
| Recessed lights (existing housings) | $120–$240 (DIY retrofits) | $300–$600 (with install) |
| Under-cabinet LEDs | $15–$30 (strips) | $50–$100 (light bars) |
| Island pendants (2–3) | $80–$150 total | $150–$450 total |
| Accent strips | $20–$40 | $40–$80 (smart, dimmable) |
| Total | $235–$460 | $540–$1,230 |
Prices are listing bands from home centers and marketplaces as of the last desk pass, not a contractor quote. A new can-light circuit is a different number.
Browse 4-inch LED recessed retrofits only after you measure the existing housing.
Common kitchen lighting mistakes
- No under-cabinet lights. Overhead cans alone put your own shadow on the cutting board.
- Pendants hung too low. Below about 30 inches above the island blocks faces and catches heads. Measure from the island surface.
- All one type. Six recessed lights and nothing else is flat. Add at least one task layer.
- Old fluorescent tubes left in the lens box. An LED panel or a new flush-mount is the cheap color-quality upgrade. Match Kelvin to the rest of the room.
- Cans aimed at the floor, not the counters. The walkway does not need to be the brightest surface in the room.
Wiring considerations
If you are renovating, plan circuits during rough-in. Recommended approach from electrician write-ups this desk keeps seeing:
- Separate switches for ambient, task, and accent so you can cook at full task light and clean up on dim ambient
- LED-compatible dimmers on ambient ($15–$25 each in current listings). The Department of Energy’s solid-state lighting program publishes the compatibility background worth skimming before you buy a wallplate full of them.
- A single switch near the doorway for ambient — the one you hit with an armful of groceries. Task and accent controls belong where you stand at the counter.
- A switched receptacle inside an upper cabinet is the middle path between the listing and remodel routes: a plug-in under-cabinet run that switches at the wall without opening the wall. It is an electrician visit, not rough-in.
- A neutral in every dimmer box if smart dimmers are on the list. Older switch boxes sometimes carry no neutral, which narrows the dimmer choices.
- Permits and codes. New circuits and ceiling cuts are permitting work in most jurisdictions. Rough-in is licensed-electrician work, not a weekend project.
If you can only fix one thing
Make it the under-cabinet task layer, on the listing path, this week. It is the cheapest fixture in the room doing the most specific job — putting light on the board instead of on your back — and the improvement reads the same whether it comes from a $25 plug-in bar or a hardwired channel. Everything else on this page is refinement; that one is the repair.