Peel-and-Stick Backsplash: A Renter-Safe Kitchen Upgrade for About $40
Affiliate Disclosure: DecorDesignIdeas.com is a participant in the Amazon Services LLC Associates Program, an affiliate advertising program designed to provide a means for sites to earn advertising fees by advertising and linking to Amazon.com.
As an Amazon Associate, we earn from qualifying purchases. This comes at no extra cost to you.
Peel-and-Stick Backsplash: A Renter-Safe Kitchen Upgrade for About $40
A tiled backsplash is one of the fastest ways to make a kitchen look finished, but real tile means mortar, grout, a wet saw, and a weekend you will not get back. In a rental, it also means damage you cannot undo. On a smooth wall, peel-and-stick tile gets you most of the look for roughly $30 to $50 in materials on a small section, with no grout, no drills, and nothing you cannot take with you when you move.
This is the honest, numbers-first version of the project: what the sheets actually cost, how to price your own wall from the carton’s coverage, the surface rule that decides whether they stick at all, and the one caveat about removal that most tutorials skip. Costs and coverage vary materially by product, store, and region, so treat every number here as a realistic ballpark to check against the box, not a claimed receipt. Nothing here comes from a test kitchen; this guide is synthesized from owner reviews, manufacturer spec sheets, and installer guidance, and it stays focused on what actually decides the project in a rental: heat, grout upkeep, and whether a real tile job is ever the right call.
For another renter-safe wall upgrade, see our guide on budget wall decor ideas that don’t look cheap. Material comparisons for grout and stick-on options live in kitchen backsplash ideas on a budget. If this is one room in a whole-lease restyle, pair it with apartment decorating ideas on a budget and the renter-friendly decor checklist.
Disclosure: the tile, knife, and degreaser links below are Amazon affiliate links tagged for this site; qualifying purchases may earn us a commission at no extra cost to you. We are not restating Amazon install bullets; heat behind a range still has to match the carton, not the listing title.
What it actually costs
Here is a worked example for a small run behind the stove, roughly 3 feet wide and about 18 inches tall, which is about 4.5 square feet. Measure your own wall and price it from the carton’s stated coverage; the numbers below are one realistic example, not a fixed total.
| Item | Worked example | Approx. cost |
|---|---|---|
| Peel-and-stick tile sheets | 5 gel/vinyl mosaic sheets (check the carton for coverage) | ~$6-10 each |
| Utility knife | For trimming edges (likely owned) | ~$0 |
| Tape measure | For sizing the section (likely owned) | ~$0 |
| Materials subtotal | small section, product-dependent | ~$30-50 before tax |
That range assumes you already own a tape measure and a utility knife or sharp scissors, which most kitchens have in a drawer. The big variable is the tile itself: budget vinyl sheets can run as little as $2 to $4 each, while premium gel mosaic sheets (the ones with a glossy, glass-like finish) run closer to $8 to $10, and some are sold in multi-packs. A specific product priced by the carton, say two multi-packs of a subway-style peel-and-stick tile, can land near $50 for this size section, so always confirm the coverage and price on the box before you buy.
Why measure first, before you buy? This is the part that decides whether you buy 4 sheets or 7. Coverage per sheet is printed on the carton, but that is the nominal size, and real installs lose material to cuts around outlets, the edge of the counter, and the underside of upper cabinets. Measure your actual section (width times height in feet), divide by the carton’s coverage, then add roughly one extra sheet for every four you calculate. Running out one row short is the most common way this project stalls, because dye lots and finishes vary between batches.
The shopping list, with links
- Peel-and-stick tile: Mosaic sheets in a finish you like. Browse peel-and-stick backsplash tile on Amazon. Buy one extra sheet beyond your measured count for cuts and mistakes.
- A sharp utility knife: A fresh blade matters; a utility knife with snap-off blades cuts the vinyl cleanly where dull scissors tear it.
- A degreaser: The adhesive only grabs a clean wall. A spray of kitchen degreaser cleaner removes the invisible cooking film that would otherwise keep tiles from sticking.
You will also need: a tape measure, a pencil, a level or a straightedge, and a clean cloth.
When to skip peel-and-stick
A $40 stove-wall section is a good renter project when the wall is smooth and the lease will last a year or more. Skip it, or shrink it to a sink splash only, when any of these are true:
- The wall is orange-peel or knockdown. The adhesive grabs the peaks and lifts at the valleys. No amount of extra pressing fixes a texture problem.
- You have a gas range and the carton has no heat number. Smart Tiles publishes a 120°F (49°C) cap and tells you not to put gel tiles where they take direct heat or standing water. Other brands publish nothing. If the box is silent, keep vinyl at least a foot off open burners, or skip the stove wall and tile the sink run instead.
- The paint is weak or glossy. A test sheet that lifts color in a closet is a deposit problem waiting to happen. Contact paper on the inside of a cabinet, or a hardware swap, is cheaper than a paint repair.
- The lease forbids wall coverings, or you are out in three months. Removal is usually possible with a hair dryer, but it is still time. A short stay does not pay back the afternoon.
| Approach | Ballpark for ~4.5 sq ft | Skip it when |
|---|---|---|
| Peel-and-stick tile (this page) | ~$30–$50 | Texture, no heat rating behind gas, weak paint |
| Contact paper on cabinets only | ~$15 a roll | You need a real splash behind a greasy stove |
| Wait and do real tile later | $0 now | You own the place and want a resale finish |
Those are cart and store ballparks, not a receipt. Confirm coverage on the box before you buy.
Heat traps: where peel-and-stick fails first
The wall behind a range is the hottest surface in a rental kitchen, and heat is the one failure mode that no amount of careful prep fixes. Peel-and-stick tiles hang on a pressure-sensitive adhesive, and that adhesive softens as the wall warms. The first sign is almost never a sheet falling off whole — it is a curling seam or a lifting corner nearest the burners. Sustained heat can also warp thin vinyl and dull a glossy finish long before the tile actually lets go.
The heat sources, in rough order of guilt:
- Open gas burners. Direct flame plus radiant heat, inches from the wall. This is the case the carton warnings are written about.
- Electric radiant coils. Less brutal than open flame, but the wall behind them still runs warmer than the room for the entire cook.
- Countertop appliances. The underrated one. Air fryers, toaster ovens, and kettles vent warm air out the back — exactly where people push them, flush against the backsplash.
- Self-clean cycles. An oven cleaning itself pushes hours of very hot air past the wall near its vent. If you use self-clean, find out where your oven exhausts before deciding what goes next to that spot.
What manufacturers publish is thin but usable. Smart Tiles caps its gel tiles at 120°F (49°C) and says to keep them away from direct heat and standing water. Other brands frequently publish nothing at all, and silence should be read as a no behind an open burner. The practical hedges:
- Keep a heat gap. Behind a gas range, stop the tile a foot short of the burners, or leave the closest row untiled. A deliberate gap reads intentional; a curled seam does not.
- Run the hood. A range hood clears heat, moisture, and grease — the three things that age both stick-on adhesive and real grout.
- Give appliances breathing room. A few inches between a venting air fryer and the wall keeps the adhesive out of the hot stream.
- Read the carton before the color chip. Behind a range, the heat rating is the spec; the finish is decoration.
Grout traps: the upkeep difference
The sticker price is where most comparisons stop. It should not be, because the other thing you buy — or do not buy — with real tile is grout maintenance.
Cement grout lines are porous. Behind a stove they wick cooking grease, darken first at the corners, want sealing when new and resealing periodically after, and eventually answer to a scrub brush. None of that is a reason not to tile; it is the ongoing cost of the look, and it is why the Tile Council of North America — the industry body behind the TCNA Handbook that sets how tile assemblies are specified and maintained — treats care and maintenance as part of the installation, not an afterthought.
Peel-and-stick has no grout to seal and no lines to scrub: a degreaser wipe and a cloth is the whole routine. Two honest caveats:
- Embossed grout-look seams still collect film. The recessed lines that make mosaic sheets read as “real” are also where grease settles. Flat, smooth, glossy surfaces wipe cleanest; heavily embossed matte textures hold the most.
- Heat and abrasion are the enemy, not effort. Abrasive pads scratch the finish, and a steam cleaner aimed at the seams delivers exactly the heat that softens the adhesive. Degreaser, warm water, a soft cloth — that is the whole toolkit.
For a greasy rental stove wall, grout-free is arguably the bigger daily-life win than the price. What you give up is durability and heat tolerance, which is the next comparison.
Peel-and-stick vs a real tile job
The fair comparison is not sticker against sticker. A real tile job — the kind This Old House walks through in its kitchen installation guides — means setting materials or backer board, a notched trowel, spacers, a wet saw or snapper for the cuts, grout, a cure period before grouting, and sealing afterward. It is a multi-day, dusty, genuinely skilled project, and if you hire it out, labor rather than tile dominates the invoice.
Where real tile categorically wins: heat. Ceramic is kiln-fired, and normal cooking heat behind a range means nothing to it, while the same wall slowly softens pressure-sensitive adhesive. Real tile also wins on durability (decades, not seasons) and on resale finish — if you own the place, it is the better wall. It just is not a renter’s wall.
Where stick-on wins: a small section costs pocket money, the tool list is a utility knife, the job is one afternoon, and it comes back off for the deposit.
| Peel-and-stick (DIY) | Real tile (DIY or hired) | |
|---|---|---|
| Materials, ~4.5 sq ft | ~$30–$50 | tile plus setting materials, grout, spacers; backer board if the wall needs it |
| Tools | utility knife, straightedge, level | trowel, wet saw or snapper, float, buckets, sponge |
| Working time | one afternoon | multi-day: set, cure, grout, seal |
| Heat behind a range | capped by the carton (Smart Tiles: 120°F) | fired ceramic is indifferent to cooking heat |
| Upkeep | wipe clean, nothing to seal | grout wants sealing and periodic scrubbing |
| Getting it back off | hair dryer and patience | demolition and wall repair |
| Best for | renters, short leases, small sections | owners, forever walls, heat zones |
If you are deciding on style as much as budget, kitchen backsplash trends 2026 covers what designers are actually installing this year — and which of those looks survive a $40 stick-on translation is exactly the test in the table above.
How to install a peel-and-stick backsplash, step by step
The whole job comes down to two things: a genuinely clean surface, and a straight, level first row. Get those right and the rest of the sheets follow.
1. Measure the section and buy for waste
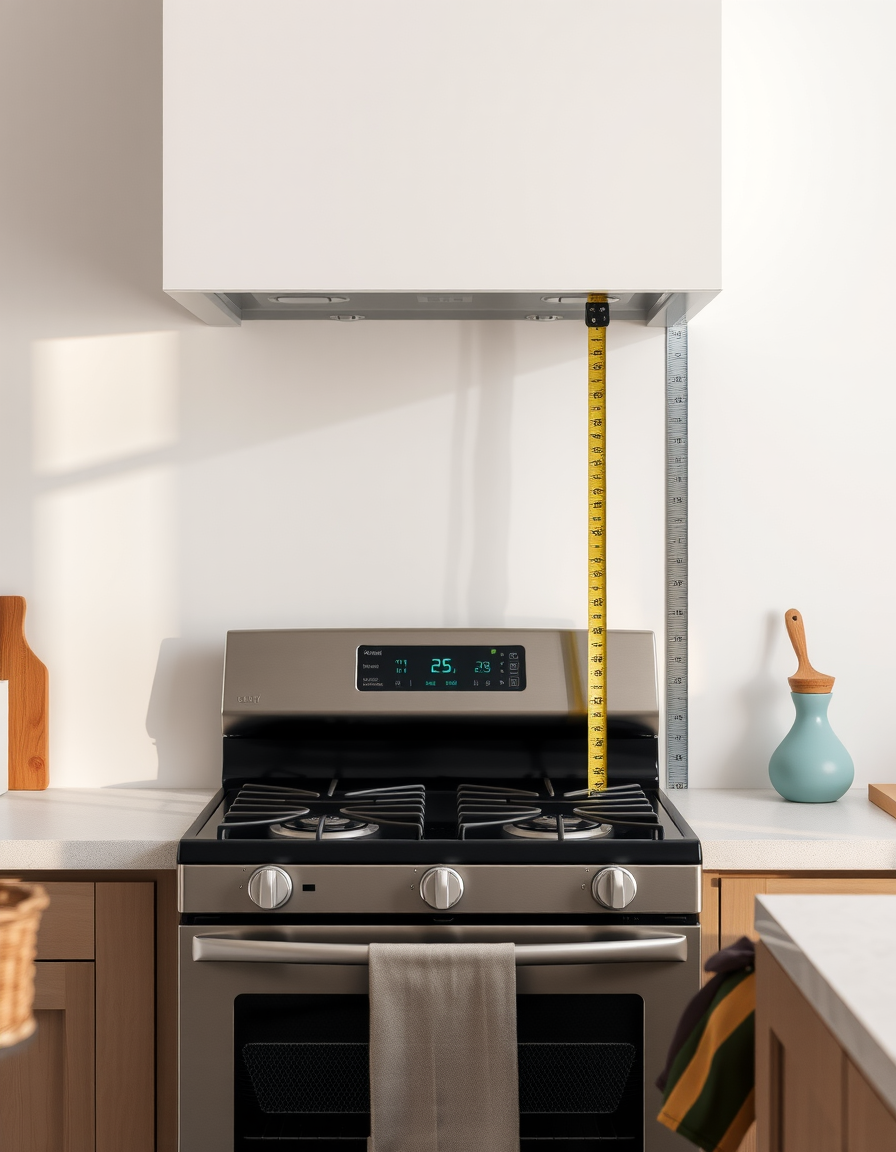
Measure the width and height of the area you want to cover and multiply to get square feet. A small behind-the-stove run is often around 4.5 square feet. Divide by the coverage per sheet (about 1 square foot) and add roughly 20 percent for cuts. Write the number down and buy that many sheets in one trip, in one purchase, so they come from the same batch.
2. Clean and degrease the wall
Peel-and-stick adhesive is unforgiving about grease. Kitchen walls carry a thin, invisible film of cooking oil, especially behind a stove, and tiles pressed onto that film will lift at the corners within days. Spray the wall with a degreaser, wipe it down, and then go over it once more with plain water to remove any cleaner residue.
3. Let it dry completely
Do not rush this. The wall has to be bone dry before the first sheet goes up; any lingering moisture weakens the bond. Give it at least an hour, longer in a humid kitchen. While you wait, dry-lay your sheets on the counter to plan the pattern and see where cuts will fall.
4. Find your level starting line
A backsplash reads wrong if the grid tilts, and counters are not always level. Rather than trusting the countertop, measure up a consistent height and draw a light, level pencil line as your baseline for the first row. Start your first sheet on that line, in the most visible spot (usually centered behind the stove), and work outward.
5. Peel, align, and press from the center out
Peel the backing, line the sheet up to your baseline and to the sheet beside it so the pattern matches, and press it down from the center outward to push out air. Most mosaic sheets are designed so the edges interlock and the seams disappear. Take your time on the first sheet; every sheet after it references that one.
6. Trim the edges with a utility knife
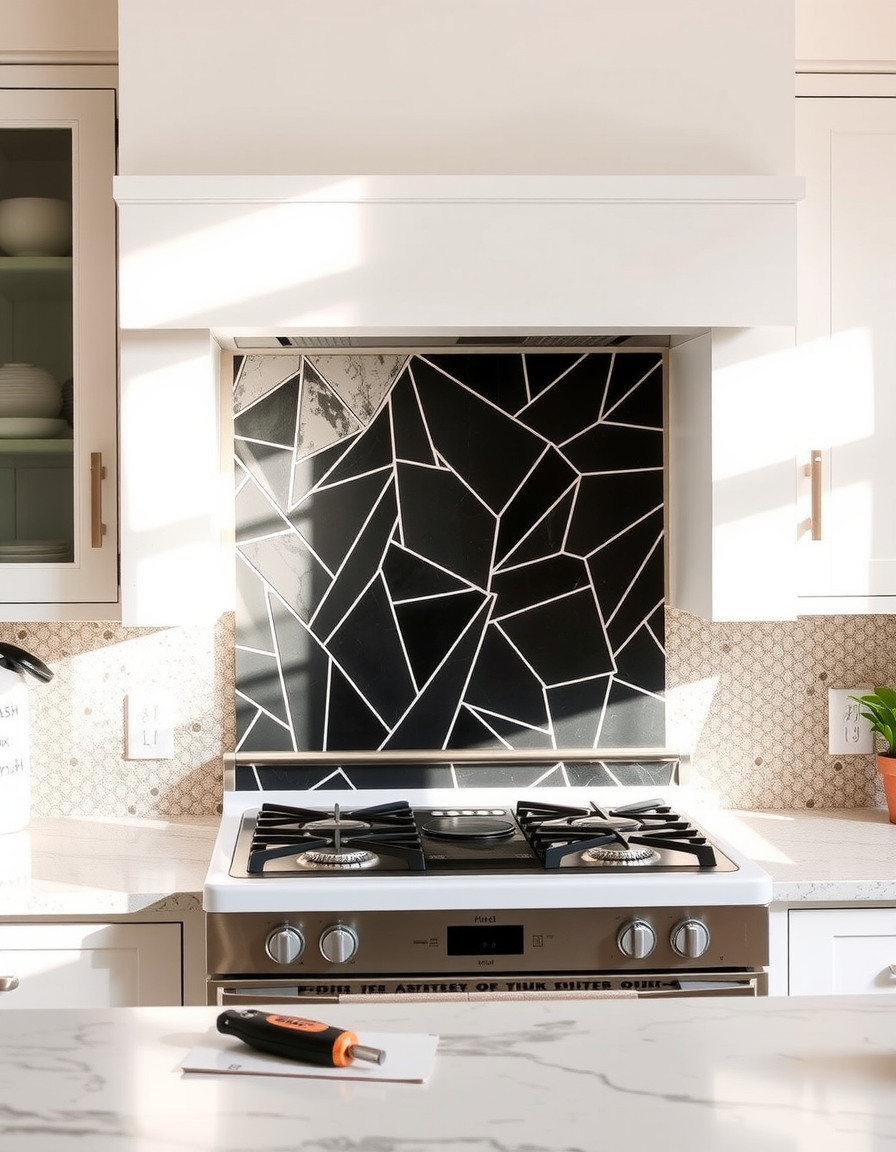
At the counter, the edge of the wall, and around outlets, trim with a sharp utility knife against a straightedge. Score first, then cut; forcing a dull blade tears vinyl. For outlets, turn off the power at the breaker, unscrew the cover plate, cut the tile to fit around the box, and screw the plate back over the edge for a clean finish.
7. Press the whole section firmly
Once everything is up, go back over the entire surface and press hard, paying extra attention to the seams and corners. Some products suggest running a clean roller or a credit card edge over the tiles to seat the adhesive. This last pass is what keeps the corners down over time.
Pro tips
- Buy one extra sheet, always. Batches vary slightly in color and finish, so going back for “just one more” can leave a visible mismatch. The spare sheet is cheap insurance and a future repair patch.
- Warm the tiles in a cold kitchen. Adhesive is sluggish when cold. If your sheets have been in a cold car or garage, let them come to room temperature so they grip on contact.
- Keep them away from direct flame. On a gas range, do not run vinyl tile right up against or behind open burners. Check the carton’s heat rating and clearance. Smart Tiles, as one published example, caps gel tiles at 120°F. These sheets are decorative, not a heat shield.
- Test one corner before you commit. Stick a single sheet, leave it a day, then peel a corner. If it lifts paint, your wall paint is the weak layer, and you will want to know that before you tile the whole run.
- Do outlets last. Fitting around an outlet is the fiddliest cut. Get the flat field looking good first so you are confident with the knife by the time you reach the tricky bits.
- Find the oven’s vent before you tile. Ovens exhaust at the top of the door or from rear vents, and any sheet parked in that stream lives at the wall’s hottest spot. Ten minutes with the manual beats a curled first row.
- Wipe the grease before it bakes on. A regular degreaser pass keeps cooking film from settling into the seams. Once grease carbonizes, no sticker finish wipes clean.
Variations
Finish. Glossy white or marble-look mosaic reads as the most “real tile,” while a matte subway pattern looks more modern and hides fingerprints. Metallic or mirrored sheets add sparkle but show every seam, so they demand a straighter install.
Coverage. You do not have to tile floor-to-cabinet. A single band behind the stove, or a strip that runs only under the upper cabinets, gives a lot of the effect for half the sheets. Deciding where the backsplash stops is a design choice; a clean horizontal edge along a level line looks intentional.
Layer it in. Once the tile is up, small changes make it look built-in: swap a dated outlet cover for a modern one, add a slim shelf, or run a light strip under the uppers to graze the new texture — the under-cabinet options in our kitchen lighting guide are made for exactly that. For more small-space ideas, see apartment decorating ideas on a budget, and material comparisons for grout and stick-on options live in kitchen backsplash ideas on a budget.
What removal actually looks like
The caveat promised up top: “removable” is not “invisible.”
- Warm, then peel. A hair dryer on medium re-softens the adhesive so sheets release in one piece. Work from a corner, pull slowly at a low angle rather than straight out, and keep the heat moving — the goal is pliable, not hot.
- Expect some residue. Warm soapy water or a citrus-based adhesive remover and a cloth handle what is left behind. Do not dry-scrape the face of the drywall.
- The paint risk is real but testable. Whether the wall needs touch-up depends on how well the paint was bonded to begin with and how long the tile stayed up. That is exactly what the one-day corner test in the tips above tells you before the whole run goes up.
- Budget an unhurried afternoon for a small section. Removal is slower and duller than installation, which is the honest trade for a project that went up without tools.
Deposit math: even in the annoying case — a lifted paint patch — the repair is spot paint, not drywall replacement. The same cannot be said for mortar.
The bottom line for renters
If the wall is smooth, the lease has a year or more left, and the sheets respect the heat rules above, a roughly $40 stick-on run is one of the few kitchen upgrades a renter gets to enjoy and then undo: no grout to maintain, no tools beyond a knife, no deposit roulette. Real tile is the better wall — it just is not your wall. If the backsplash has you rethinking the whole kitchen corner, small kitchen storage hacks and budget wall decor ideas are the natural next stops.